Winter Sportbike Fairing Rebuild: A Week-by-Week Off-Season Plan
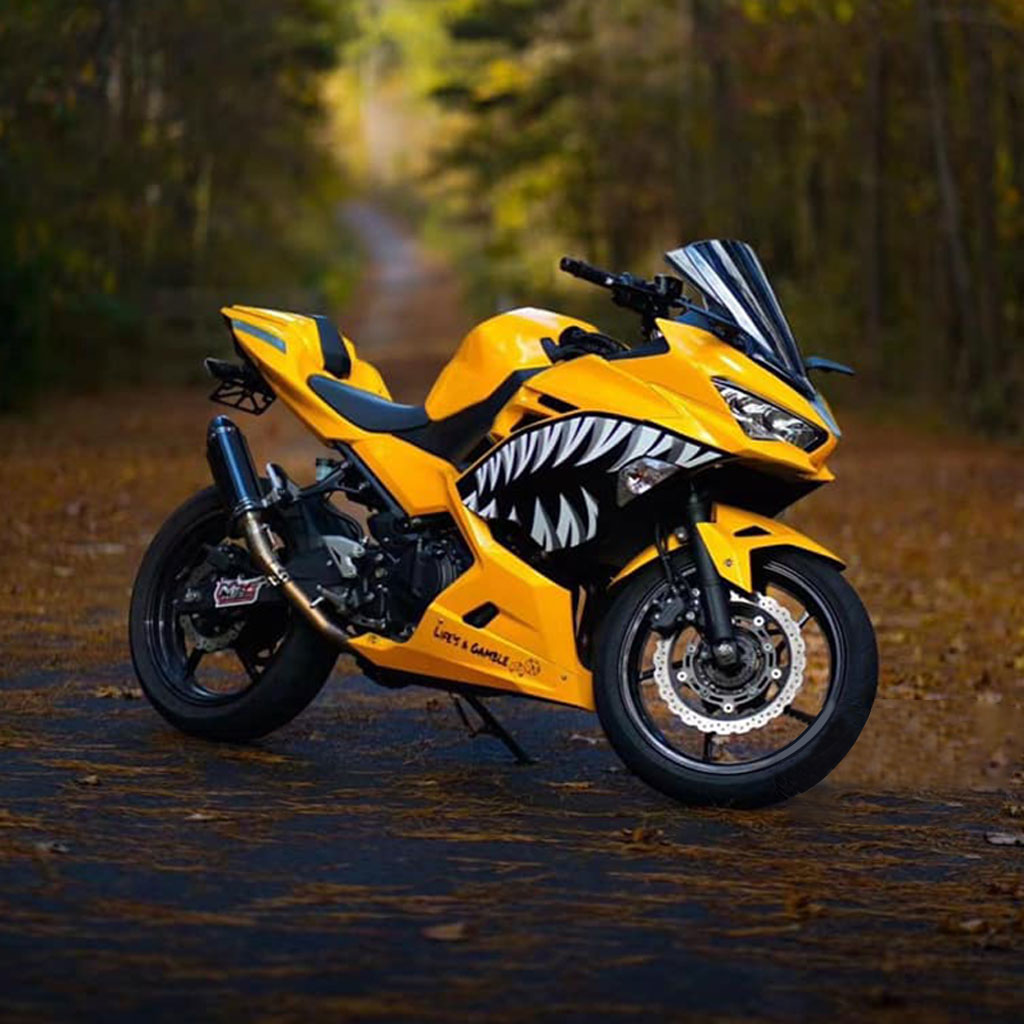
The quiet part of winter can be useful in a motorcycle garage. In some regions, wet roads, road salt, freezing temperatures or short daylight hours keep a sportbike parked for weeks. Other riders continue through winter but still choose a planned maintenance window. Either way, the advantage is time: you can document the motorcycle, inspect what the bodywork hides and dry-fit panels without a riding deadline pushing the job forward.
That extra time does not turn a general guide into model-specific service information. Your exact motorcycle, market, prior repairs and installed accessories still determine how the bodywork comes apart and goes back together. Use the applicable service information, parts references and written supplier instructions throughout the project.
This plan divides a fairing project into four working weeks, followed by a spring re-commissioning check. The weeks are checkpoints, not deadlines. A careful rider may spend an evening on one step and several weekends on another.
Decide the Scope Before Removing a Panel
Start by deciding what problem you are actually solving. A bike with intact panels and a consistent finish may only need cleaning and careful reinstallation. Isolated cosmetic damage may justify assessment of one or two panels. A complete replacement set can make sense when damage or finish differences are spread across the exterior and you want one coordinated design. None of those choices is automatically correct.
What you can confirm | Sensible next step | What must remain open |
|---|---|---|
Panels are intact, mounting points are supported and the finish still works as a set | Clean, inspect and reinstall the existing bodywork | Hidden clips, rubber pieces and heat barriers still need inspection |
Damage is limited to a small area and the surrounding finish can be retained | Obtain an application-appropriate repair assessment or replace the affected panel | Repair method, coating compatibility and structural condition require evidence |
Several visible panels are damaged or the planned design needs a consistent finish | Compare a complete exterior set with the cost and scope of smaller repairs | Confirm the exact listing, retained parts and transfer items before ordering |
Alignment changed after a fall or previous work | Diagnose supports, brackets, hardware and application first | Do not use new panels to conceal an unresolved mounting problem |
Record the exact model, model year, market or region and trim where relevant. Note mirrors, indicators, windscreens, frame sliders, exhaust parts, fender eliminators, luggage or other changes that may affect access or clearance. A familiar model name is not enough evidence that a panel or installation sequence is the same.
Read the exact product listing as a parts list, not as a general promise. Confirm which painted and unpainted pieces are supplied and which components remain on the motorcycle, transfer from the old bodywork or must be obtained separately. Hardware, inner trim, ducts, rubber parts and heat protection vary by application and listing.
Week 1: Build the Baseline and Teardown Record
Before the first fastener comes out, photograph the complete motorcycle in good light. Capture both sides, the front, the rear and useful three-quarter views. These images preserve the original panel gaps, overlaps and overall stance. If a gap is already uneven or a panel has a previous repair, record it now instead of attributing it to the replacement work later.
For each area, take three kinds of photographs:
A wide image that shows where the connection sits on the motorcycle.
A medium image that shows how neighboring panels and trim overlap.
A close image that shows the fastener, clip, grommet, connector or routing detail.
Use one label system for the photographs, hardware containers and removed panels. “L” and “R” should always mean the motorcycle’s left and right as viewed by the rider. A code such as L-upper-03 is more useful than a camera roll full of unlabeled close-ups. The existing photo-and-label workflow provides a fuller method for building that record.
Protect painted faces as soon as they leave the motorcycle. Use clean padded surfaces and keep parts from resting on sharp edges or against one another. Store fasteners in small groups by panel and location. Similar heads can hide different lengths, shoulders, washers or threads, so one bag marked “all fairing screws” removes important context.
Stop Week 1 when a panel remains held after all documented fasteners are removed, a connector will not release by the specified method, a mounting support appears bent, or the next step would require unexplained force. Find the missing information before continuing.
Week 2: Inspect What the Bodywork Was Hiding
With the panels safely stored, inspect the areas that are normally difficult to see. This is an observation stage. Removing bodywork does not authorize structural, brake, fuel, steering, electrical or cooling repairs beyond your training and the applicable procedure.
Clean only with products and methods suitable for the actual surface. Test an unfamiliar cleaner in a hidden area and follow the coating or product maker’s instructions. Keep aggressive solvents and abrasive pads away from painted surfaces unless the documented refinishing process specifically calls for them. Dry parts before storage and keep the workspace free of grit.
Look at the complete mounting system rather than judging the painted panel alone:
brackets, stays and visible supports;
rubber grommets, well nuts, dampers and collars;
clips, tabs and threaded inserts;
inner panels, ducts and edge trim;
connectors and wiring retainers;
hoses or cables that pass near bodywork;
heat barriers and their attachment points.
Record condition without jumping to a repair. A rubber part can be missing, displaced, hardened or simply installed in a way you do not understand yet. A bracket can be non-standard or previously adjusted. A shiny edge, dust-free line or polished mark can show contact, but it does not by itself identify why the contact occurred.
Create a transfer inventory with four columns: retained, transfer, replace and unknown. “Unknown” is an important working state. It prevents a guess from becoming an order or an irreversible change. Resolve it with the exact parts reference, service information or written supplier guidance.
Heat protection deserves its own record. Photograph the original location and orientation before removal. If a barrier is damaged, missing or positioned near a hot zone, do not improvise its material or location. Compare the evidence with the application-specific information. The fairing heat-damage guide explains how to map the affected area before replacing a panel.
Stop the project and obtain qualified help if you find structural cracking or movement, a fuel leak, damaged brake components, steering interference, exposed or damaged wiring, a cooling leak, or anything that could affect safe operation.
Week 3: Dry-Fit Without Creating Tension
Week 3 is not a race to make every screw enter a hole. It is the point where you compare the new or retained panel group with the motorcycle, the documented hardware stack and the supporting parts.
Lay out the pieces and identify each one before bringing it to the bike. Confirm the application, orientation and expected neighboring panels. Check which grommets, collars, clips, brackets, inner trims or heat barriers must be transferred. Do not assume that a generic hardware kit duplicates every original shoulder, washer or spacer.
Support panels naturally during the dry fit. Follow the sequence specified for the motorcycle or supplied for the exact kit. Where that procedure uses temporary loose support, keep the related fasteners loose enough for the panel group to settle; do not turn this into a universal tightening rule.
A fastener should begin by hand through a panel that is sitting naturally. If the hole only aligns while you pull, twist or lever the panel, back out and diagnose the stack. Static tension around a hole or tab can become a crack after vibration and heat cycles. Never force-screw, drill, file, heat or cut a painted panel to hide an unexplained mismatch.
When alignment changes, record the first step at which it changed. Check one cause at a time: panel application, retained bracket condition, missing or reversed grommet, incorrect fastener, trapped wiring, misplaced inner trim or an undocumented modification. Take one wide, one medium and several close photographs. That evidence is much more useful to a supplier or technician than the statement “it does not fit.”
Week 4: Finish Protection and Final Assembly
Only move to final assembly after the panel group sits without unexplained force and every required supporting part is identified. Confirm the location and condition of heat protection, the routing of wires and hoses, and the clearance around hot or moving parts.
Finish care depends on the actual coating. Follow the supplier’s instructions for washing, curing time, protection film or other treatments. Do not assume that every painted set uses the same basecoat, decal process or clear coat. If you plan to add accessories, confirm their mounting method and clearance before making holes or applying adhesives.
Check every fastener stack against the record. A shoulder bolt, collar, washer, clip nut, rubber well nut and threaded insert do different jobs. Start threaded fasteners by hand and use the correct driver profile. Tighten only to the motorcycle maker’s specification for that location or the applicable written instruction. There is no single torque value or universal tightening pattern for all fairing hardware.
Inspect the completed exterior from several distances. A close view finds trapped edges and missing clips. A medium view reveals inconsistent overlaps. A full-bike view shows whether one panel has shifted the visual line of the set. If a screw is pulling a hole into place, the installation is not finished even if the exterior looks acceptable from across the garage.
Spring Re-Commissioning and Shakedown
Treat the motorcycle as a complete system before returning it to normal riding. With the engine off, sweep the handlebars slowly from full left to full right and check the steering-lock positions specified for the motorcycle. Confirm that the screen, inner panels, controls, cables, brake hose and wiring do not bind, stretch or touch. The separate full-lock clearance guide provides a focused checklist for this area.
Operate every light and connector disturbed during the work. Confirm fastener presence and the specified tightening state. Check visible clearance from the exhaust, engine, radiator fan, wheel, suspension, brakes and other hot or moving parts. Verify that ducts and cooling openings are unobstructed.
If the static checks pass, start the motorcycle only in a properly ventilated area and keep hands, clothing and tools away from hot or moving components. Listen and observe from a safe position. Stop immediately for unexpected movement, contact, smoke, odor, leaking fluid, warning indicators or any new mechanical symptom.
Take a short, low-speed test only when the motorcycle has passed the static and functional checks. Choose a controlled route, then allow the motorcycle to cool completely. Reinspect fasteners, panel joints, contact marks, heat barriers and clearances before normal riding. A shakedown is a verification step; it is not the place to discover a known unresolved problem.
Printable Winter Fairing Project Checklist
Record exact model, year, market, trim and visible modifications.
Keep model-specific service information and the exact product listing available.
Photograph the complete motorcycle and every panel connection before removal.
Use matching labels for photographs, panels and hardware containers.
Protect painted faces and keep similar-looking fasteners separated.
Classify supporting parts as retained, transferred, replaced or unknown.
Inspect visible supports, rubber pieces, clips, ducts, wiring and heat barriers.
Stop for structural, fuel, brake, steering, electrical or cooling uncertainty.
Dry-fit without forcing, drilling, filing, heating or cutting painted panels.
Record the first stage where alignment changes and preserve the evidence.
Confirm coating care, heat protection, wiring routes and all clearances.
Start fasteners by hand and use only application-specific tightening information.
Check steering, steering lock, lights and disturbed connectors.
Complete a short low-speed shakedown only after all static checks pass.
Cool the motorcycle and inspect the complete installation again.
Save the photographs, parts log and final notes with the motorcycle’s records.
Winter helps because it gives you time to preserve evidence and stop when something is uncertain. It does not make guesses safer. A calm baseline, a controlled dry fit and a disciplined spring check are what turn an off-season bodywork project into a motorcycle you can understand when the garage door finally opens.