Restoring and Repainting Faded Yamaha YZF-R6 Fairings

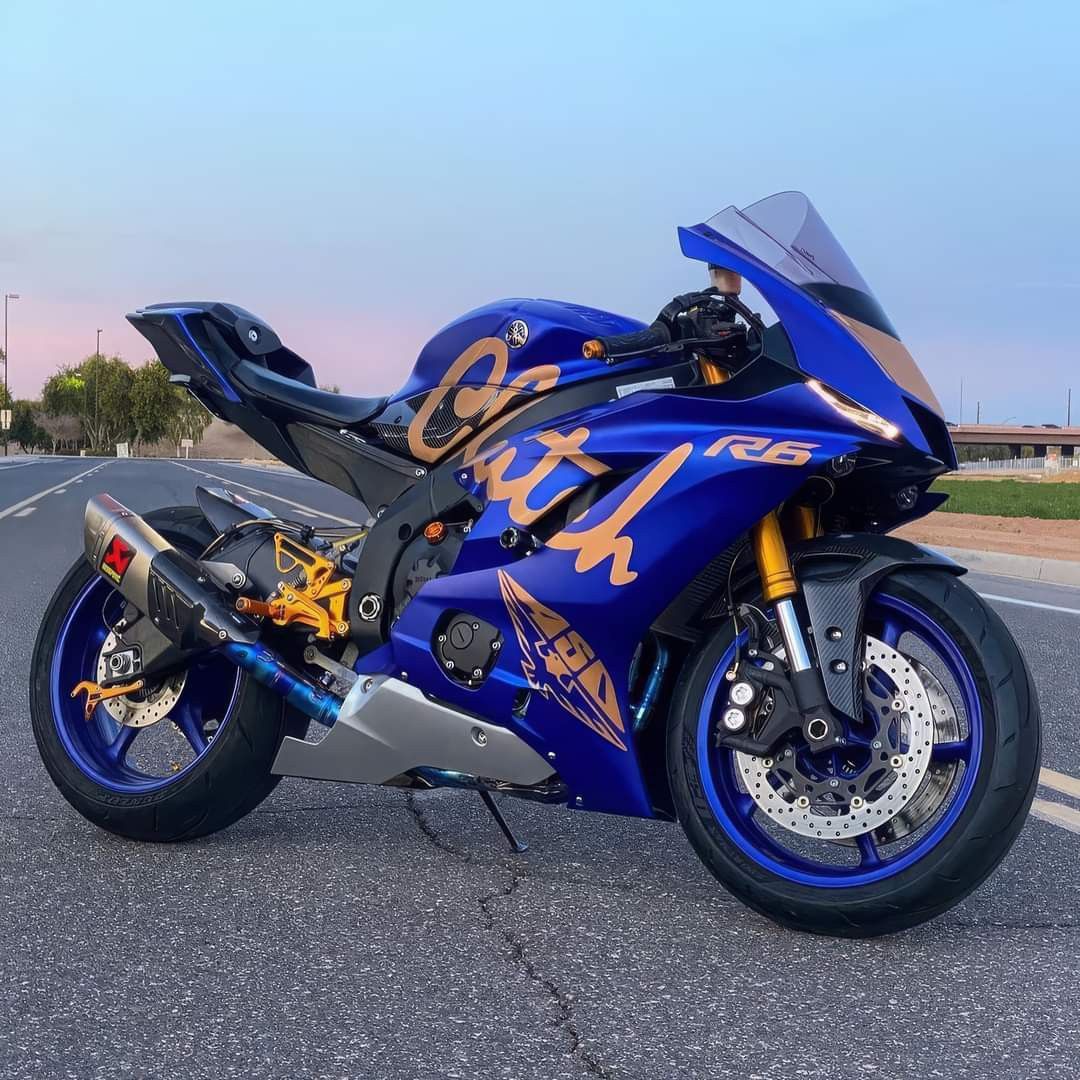
You can restore and repaint yzf-r6 fairings with the right approach. Start by looking closely at your motorcycle fairings. Check for fading, cracks, or other damage. Many motorcycle fairings show signs of wear after years on the road. A good inspection helps you decide if your yzf-r6 fairings need repair or a new coat of paint. Gather all tools before you begin. Make sure your workspace is safe and clean. Taking care of motorcycle fairings keeps your bike looking sharp.
Key Takeaways
Look closely at your Yamaha YZF-R6 fairings for fading, cracks, or damage before you start.
Get all the tools you need and set up a clean, airy workspace. This helps keep you safe and gives better results.
Clean, sand, and fix your fairings well to make a smooth surface for painting.
Put on primer, base coat, and clear coat with care. Let each layer dry before adding the next one. This helps the finish last longer.
Take care of your painted fairings by washing them often. Use UV protectant and check for damage to keep them looking new.
Assessing YZF-R6 Fairings
Signs of Fading and Damage
You need to look closely at your motorcycle fairings before you start any work. Fading often shows up as dull or uneven color on the surface. Sunlight and weather can cause this problem over time. Sometimes, you will see white or chalky spots. These are signs of oxidation. If you spot small cracks or chips, you may have fairing damage. Run your hand over the surface. Feel for rough spots or deep scratches. Check the edges and mounting points for any broken or loose parts.
Tip: Use a flashlight to check for hidden cracks or weak spots on your yzf-r6 fairings. Good lighting helps you find problems early.
Some motorcycle fairings may only have mild fading. You can often fix this with a good buffing or polishing. If you see deep scratches, cracks, or missing pieces, you may need more work. Fairing kits can help if you want to replace several panels at once. Always check if your fairing kits match the model year of your bike.
Restore or Replace Decision
You must decide if you want to restore or replace your motorcycle fairings. If your yzf-r6 fairings only have light fading or small scratches, you can restore them. Buffing and repainting can bring back the shine. For more serious fairing damage, like large cracks or broken mounts, replacement may be the better choice.
A professional matte black wrap costs about $1,000 for a Yamaha YZF-R6. This wrap protects the original paint and lasts three to five years with good care. Wrapping is a cost-effective way to restore your motorcycle fairings if you want a fresh look without buying new parts.
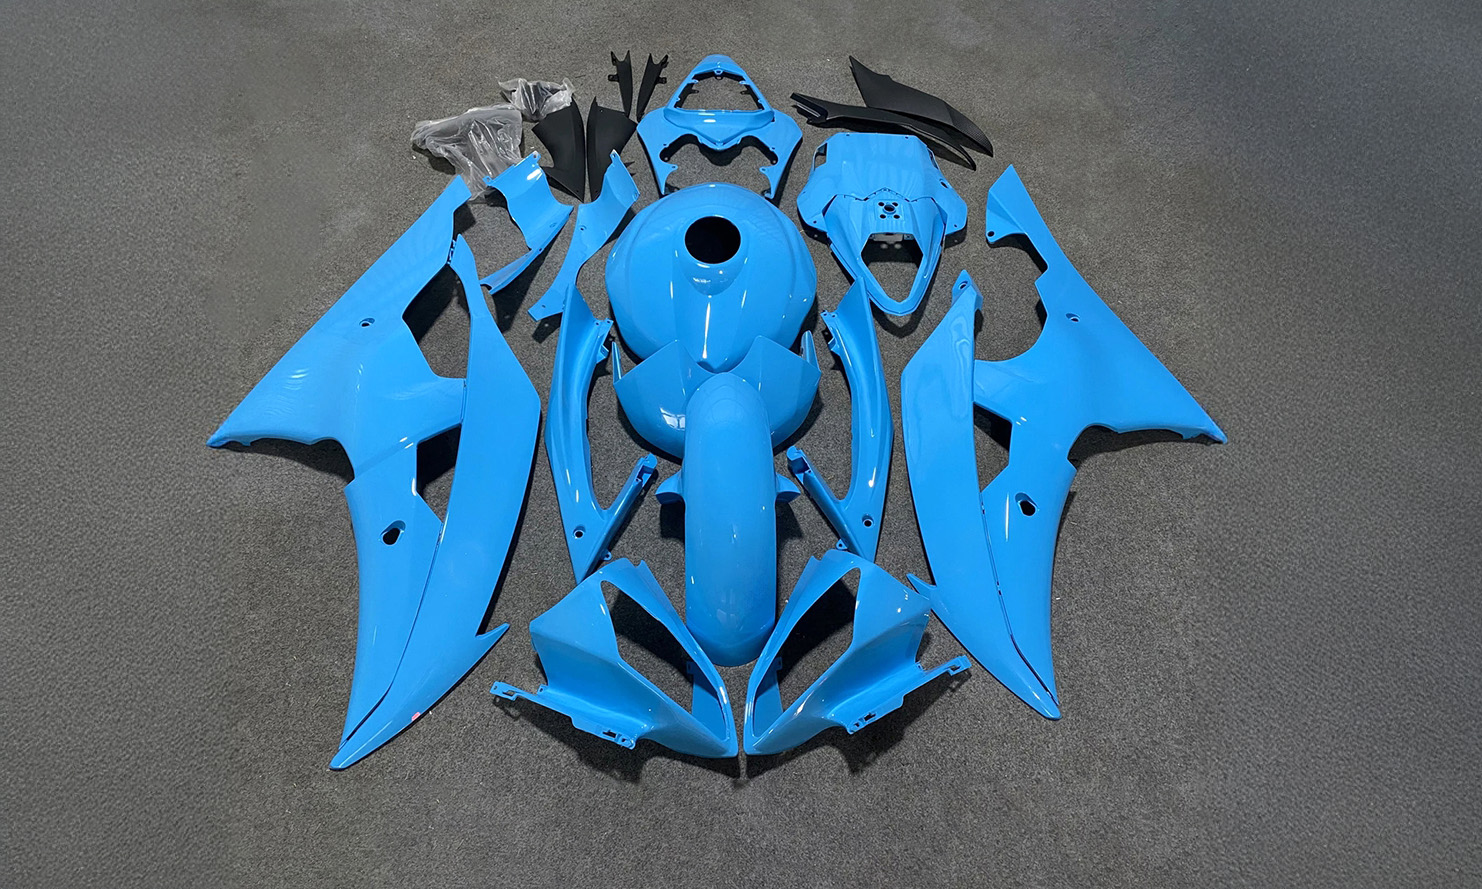
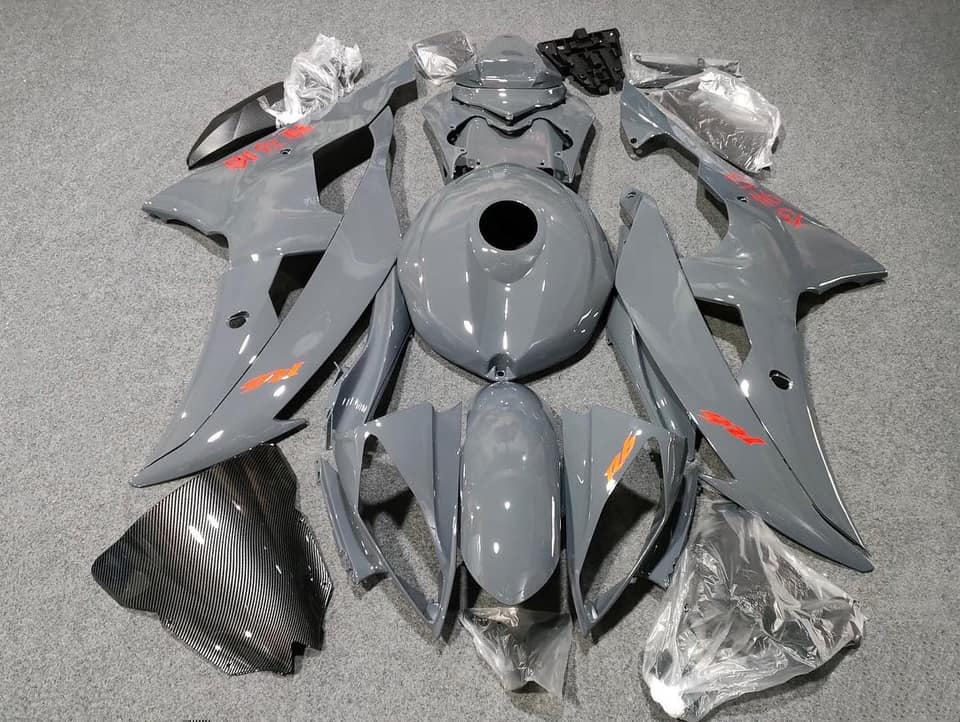
Replacement fairings come in many types. Fairing kits made from fiberglass last longer but cost more. Some sellers offer cheap fairing kits, but these may not fit well or last long. If you buy from a trusted source, you get better quality and fewer problems. Always compare the cost and lifespan of restoration options with the price and risks of new fairing kits.
Tools and Prep for Motorcycle Fairings
Tools and Materials List
You need the right tools before you start. This helps you work faster and make fewer mistakes. Here is a list to help you get ready:
Screwdrivers (Phillips and flathead)
Ratchet set or socket wrenches
Sandpaper (grits 320, 600, 1000, and 2000)
Evercoat Polly-Flex for filling scuffs
Epoxy for fixing cracks or breaks
Plastic cleaner and degreaser
Microfiber cloths
Masking tape and plastic sheeting
Primer made for motorcycle fairings
Base coat and color-matched paint
Clear coat for protection
Adhesion promoter and flex agent (for better paint bonding)
Safety gear (gloves, goggles, mask)
Tip: Make a table to keep your supplies organized. Mark off each tool as you get ready to paint.
Tool/Material | Purpose |
|---|---|
Sandpaper (various grits) | Makes surfaces smooth |
Evercoat Polly-Flex | Fills in dents and scuffs |
Epoxy | Fixes cracks or broken parts |
Primer, Paint, Clear Coat | Used for painting fairings |
Adhesion promoter and flex agent | Helps paint stick better |
Pick paints and primers made for motorcycle fairings. These last longer and do not chip easily. Many fairing kits are not painted, so you must paint them yourself. Always use paint that matches your Yamaha YZF-R6 for the best look.
Workspace and Safety
Get your workspace ready before you paint. Pick a dry, clean spot with good air flow. Dust and dirt can mess up your paint job. Put down plastic sheeting to keep the floor clean. Hang fairing kits or panels so you can paint all sides.
Wear gloves, goggles, and a mask to stay safe from fumes and dust. Keep a fire extinguisher close by. Never paint near fire or sparks. Good lighting helps you see any problems before you finish.
Safety First: Always read the labels on your paint and other products. Follow the directions for safe use and throwing things away.
A good workspace makes painting easier and safer. You will get better results and stay healthy. Take time to set up before you start working on your fairing kits.
Repair and Surface Prep
Removing Fairings
Start by removing your motorcycle fairings with care. Use a screwdriver or ratchet set to loosen the bolts and screws. Place each fastener in a small container so you do not lose them. Work slowly and support each panel as you remove it. Some motorcycle fairings have hidden clips or tabs. Gently press or lift these to avoid breaking them. If you feel resistance, check for missed screws or fasteners.
Tip: Take photos of each step. These pictures help you remember where each part goes when you reinstall your motorcycle fairings.
Lay the panels on a clean, soft surface. This prevents scratches or new damage. Keep your workspace organized. You will find it easier to work on each piece when you know where everything is.
Cleaning and Sanding
Before you repair or paint, clean your motorcycle fairings. Use a plastic cleaner or degreaser. Wipe each panel with a microfiber cloth. Remove all dirt, oil, and old wax. Dirt left behind can ruin your paint job.
After cleaning, start sanding. Begin with 320-grit sandpaper. Sand the surface until it feels smooth. This step removes old paint, oxidation, and small scratches. Move to 600-grit sandpaper for a finer finish. For the final sanding, use 1000-grit and then 2000-grit sandpaper. Always sand in a circular motion. This helps the new paint stick to your motorcycle fairings.
Sandpaper Grit | Purpose |
|---|---|
320 | Removes old paint and rough spots |
600 | Smooths the surface |
1000 | Prepares for painting |
2000 | Gives a fine, smooth finish |
Note: Wear a mask and goggles when sanding. Fine dust from motorcycle fairings can irritate your eyes and lungs.
Filling and Repairing
Inspect each panel for cracks, deep scratches, or holes. Use Evercoat Polly-Flex to fill small scuffs and dents. Apply a thin layer with a plastic spreader. Let it dry, then sand it smooth with fine sandpaper. For larger cracks or broken areas, use epoxy. Mix the epoxy and apply it to the damaged spot. Hold the parts together until the epoxy sets.
If you have unpainted aftermarket motorcycle fairings or custom fairings, you must prep them before painting. Sand the surface lightly. Clean off all dust and oils. Use an adhesion promoter to help the paint stick. This step is important for both new and old motorcycle fairings.
Safety Reminder: Always follow the instructions on repair products. Some fillers and epoxies can be harmful if you touch or breathe them.
Take your time with each repair. Careful prep work gives you the best results when you paint your yzf-r6 fairings.
Painting YZF-R6 Fairings
Painting your Yamaha YZF-R6 fairings takes patience and careful steps. You want a finish that looks great and lasts for years. Each stage in the painting process matters. Follow these steps to get the best results for your motorcycle fairings.
Primer Application
Start with a clean and sanded surface. Use a flexible primer for polyethylene if your fairings are made from this material. This special primer helps paint stick to plastic and prevents peeling. Lightly sand the surface with fine wet-or-dry sandpaper. Some professionals use a quick flame treatment to improve adhesion, but you must keep the flame moving and never stay in one spot.
Apply an adhesion promoter in 1-2 wet coats. Let each coat dry for about 30 minutes. This step prepares the surface for the primer. Next, spray two heavy coats of flexible primer. Allow 45 minutes for each coat to dry. Wet sand the primer using 220 grit, then 400 grit sandpaper. Rinse the fairings between sanding steps. After the final sanding, clean the surface with a wax and grease remover. Wipe with a tack cloth to remove dust.
Tip: Always match your primer to your paint system. Using a spray can primer with a professional base coat can cause the primer to dissolve or peel. Two-component primers with hardener work best for durability.
A good primer layer helps your paint job last longer. If you skip this step or use the wrong product, you may see chipping or delamination after a few years.
Base and Color Coats
Mix your paint according to the instructions. For example, Sherwin Williams acrylic enamel uses 8 parts color, 4 parts reducer, 1 part hardener, and 2 parts flexibilizer. The flexibilizer keeps the paint from cracking when the fairings flex.
Spray 3-4 coats of base color. Let each coat flash, or dry, before adding the next. Use smooth, even strokes to avoid runs or drips. If you want your motorcycle fairings to match the original Yamaha color, check the paint code on your bike. Many paint suppliers offer exact matches for Yamaha YZF-R6 models.
Note: UV-resistant paint protects your fairings from sun damage. This type of paint keeps colors bright and prevents fading.
Let the base coat dry completely. Some experts recommend waiting 2-4 weeks before adding decals or waxing. This waiting period allows the paint to cure and harden fully.
Clear Coat Finish
The clear coat gives your motorcycle fairings a glossy, protective finish. It also seals in the color and adds extra resistance to scratches and UV rays. Apply 2-3 coats of clear, letting each coat dry before adding the next. Use a high-quality clear coat designed for automotive or motorcycle painting.
Proper clear coat application prevents peeling and bubbling. If you rush this step or use a low-quality product, your paint job may not last. Always follow the drying times listed on the product label. After the final coat, let the fairings cure in a dust-free area.
Step | Product Example | Drying Time |
|---|---|---|
Adhesion Promoter | Sherwin Williams UPO7227 | 30 min between coats |
Flexible Primer | SEM Flexible Primer/Surfacer #39134 | 45 min between coats |
Base/Color Coat | Sherwin Williams Acrylic Enamel | Flash between coats |
Clear Coat | Automotive/Motorcycle Clear | As per label |
Remember: A well-applied clear coat protects your painting work and keeps your motorcycle fairings looking new.
Painting takes time and attention to detail. Each layer builds a strong, beautiful finish. When you follow these steps, you help your Yamaha YZF-R6 stand out on the road.
Finishing and Maintenance
Curing and Polishing
After painting, you need to let your motorcycle fairings cure. Place the panels in a dust-free area. Most paints need at least 24 hours to dry to the touch. Full curing can take up to two weeks. Do not rush this step. If you handle the fairings too soon, you can leave marks or dents in the finish.
Once the paint cures, you can polish the surface. Use a soft microfiber cloth and a gentle polishing compound. Rub in small circles to bring out the gloss. This step makes your motorcycle fairings look shiny and new. If you see any rough spots, polish them again until the surface feels smooth.
Tip: Wait at least a week before using any wax or sealant on freshly painted fairings. This gives the paint time to harden.
Reinstalling Fairings
You must reinstall your motorcycle fairings with care. Line up each panel with the mounting points. Use the photos you took during removal to help you remember where each piece goes. Start with the lower panels and work your way up. Tighten all screws and bolts by hand first. Check that each panel fits snugly before you finish tightening.
If you force a panel into place, you can crack the paint or damage the fairing. Take your time and check your work as you go. Good installation keeps your motorcycle fairings secure and looking great.
Maintenance Tips
To keep your motorcycle fairings in top shape, follow these tips:
Wash your fairings with mild soap and water. Avoid harsh chemicals.
Use a UV protectant spray to shield the paint from sun damage.
Store your bike in a garage or use a cover when not riding.
For small chips or scratches, use a touch-up pen made for painting motorcycle fairings.
Inspect your fairings often for loose bolts or new damage.
Maintenance Task | How Often |
|---|---|
Wash fairings | Weekly |
Apply UV protectant | Monthly |
Inspect for damage | Every ride |
Regular care helps your motorcycle fairings stay bright and strong for years.
Take your time with each step. Careful work gives you the best results and a finish that looks professional. Good preparation and attention to detail help your Yamaha YZF-R6 fairings last longer and look better.
Share your own tips or stories in the comments.
Ask questions if you need more advice.
Let others know what worked for you!
FAQ
How long does it take to repaint YZF-R6 fairings?
You can finish the painting process in two to three days. Drying and curing may take up to two weeks for the best results. Always check the paint label for exact times.
Can you use car paint on motorcycle fairings?
You can use automotive paint if it is flexible and safe for plastics. Always add a flex agent. This helps prevent cracks when the fairings bend.
What should you do if the paint starts peeling?
Remove the peeling paint with sandpaper. Clean the area well. Apply primer and repaint the spot. Use a clear coat to seal and protect the repair.
How do you match Yamaha factory colors?
Check your bike for a color code sticker. Give this code to a paint supplier. Many shops can mix paint to match Yamaha factory colors exactly.
Tip: Keep your color code in a safe place for future touch-ups!
See Also
Essential Tips For Cleaning And Maintaining Motorcycle Fairings
Step-By-Step Guide To Repairing And Replacing Motorcycle Fairings
The Importance Of Owning Yamaha R6 Fairings Explained
