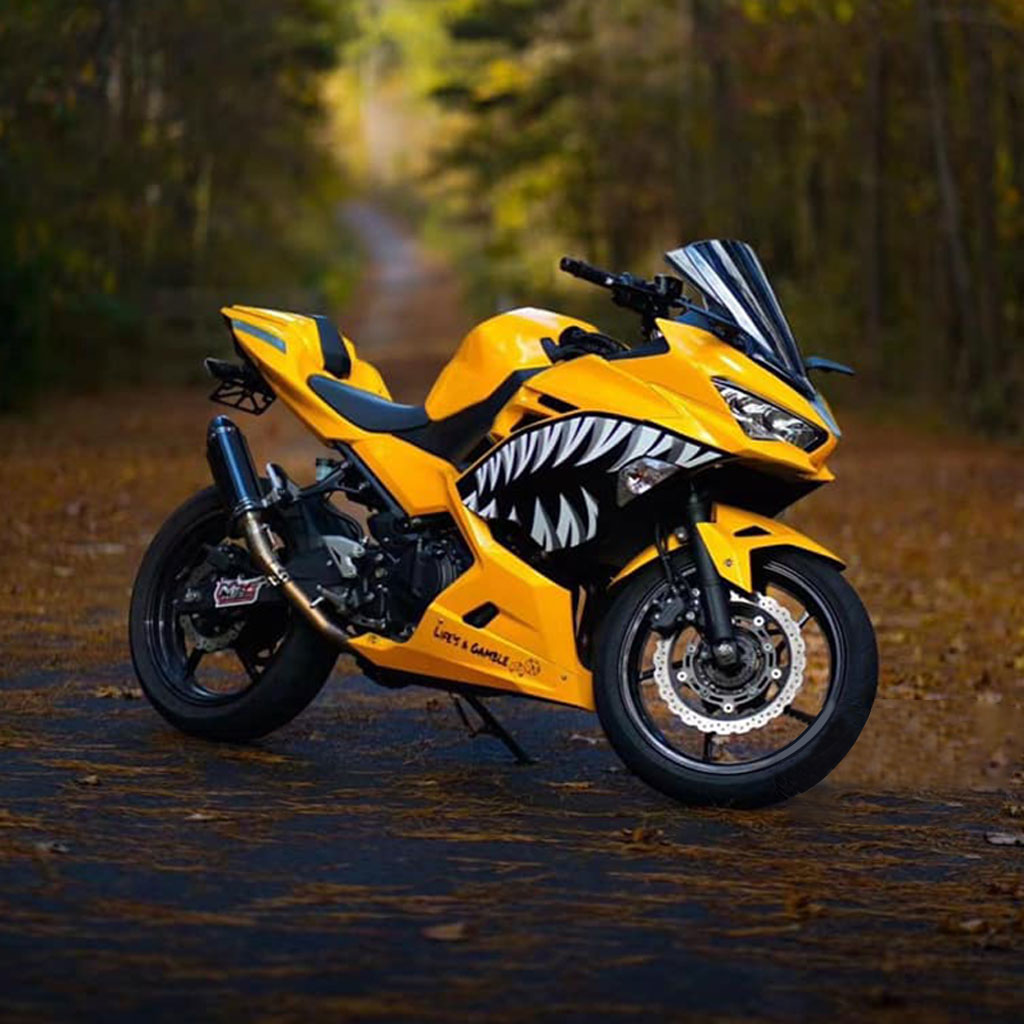
How to Repair or Replace Your Motorcycle Fairings Quickly
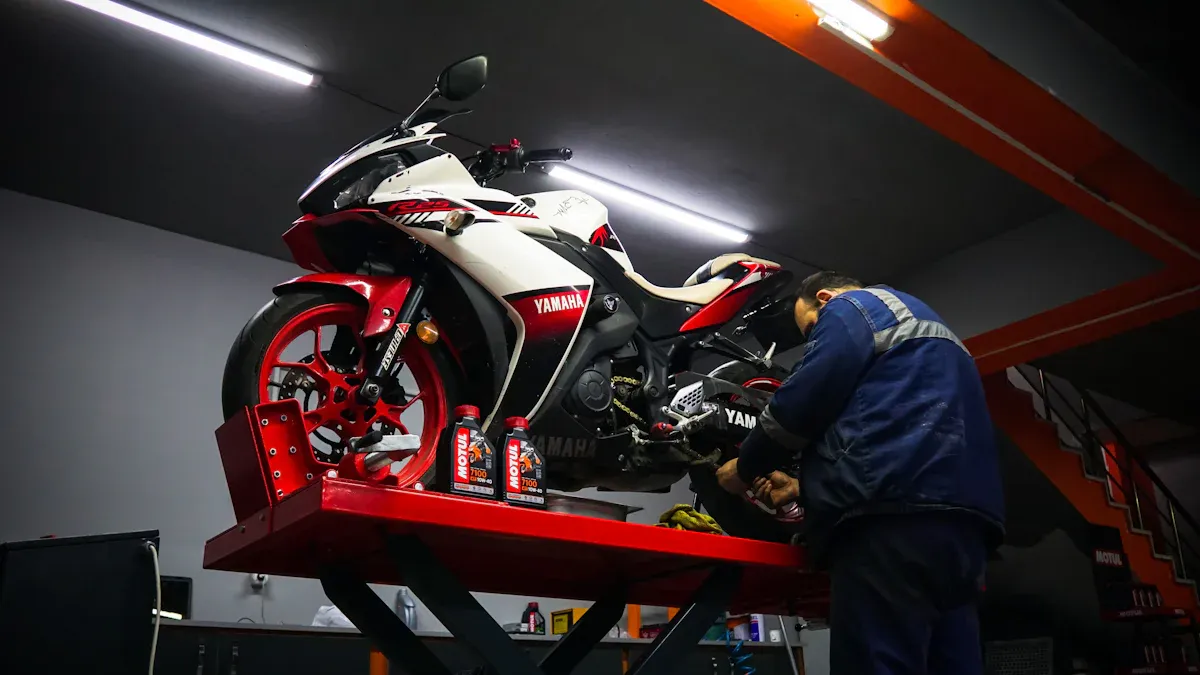
Your motorcycle fairings do more than just look good—they protect your bike and improve how it handles on the road. Damaged fairings can impact your ride and even your bike’s performance. If you need to, it's essential to replace your motorcycle fairings quickly to keep your motorcycle safe and stylish. Let’s dive into how you can tackle this job with ease.
Key Takeaways
Motorcycle fairings help with speed, comfort, and safety. Taking care of them makes your ride better.
Check for cracks, strange sounds, or loose pieces to see if repairs are needed. Fixing problems early stops worse damage later.
Use proper tools like a plastic welder and strong glue to fix fairings. These tools make repairs simple and work well.
Why and When to Repair or Replace Your Motorcycle Fairings
Importance of Motorcycle Fairings
Motorcycle fairings are not just for looks. They help your bike perform better and keep it safe. Fairings make your bike faster by cutting down air resistance. Tests show they can lower drag by 10% in racing bikes. They also protect the engine and other parts from damage caused by accidents or flying debris. Fairings reduce wind, making long rides quieter and less tiring.
Here’s why fairings are important:
Reason | Description |
|---|---|
Better Speed | Fairings improve aerodynamics, helping your bike go faster and stay steady. |
More Comfort | They block wind and noise, making rides smoother and easier. |
Personal Touch | Fairings let you customize your bike’s look to match your style. |
Extra Protection | They guard the engine and key parts from harm during accidents. |
Cool Appearance | Fairings make your bike look stylish and newer. |
Signs You Need to Repair Motorcycle Fairings
Wondering if your fairings need fixing? Check for these problems:
Cracks or damage you can see.
Fairings that shake or make noise while riding.
Missing screws or loose parts.
Paint that is peeling or faded.
More wind or noise making rides less comfortable.
If you spot these issues, don’t wait to fix them. Broken fairings can cause bigger problems, like exposing your engine to dirt or reducing how smoothly your bike rides.
Benefits of Replacing Motorcycle Fairings Quickly
Replacing broken fairings fast keeps your bike in great shape. New fairings make your bike look cool again and improve how it rides. They also help with balance, especially at high speeds. A taller windscreen on new fairings can block air from hitting your helmet, making rides more comfy.
Fixing fairings early saves money later. Damaged fairings can harm other bike parts over time. Fixing them now avoids expensive repairs later. Plus, new fairings let you add your own style to your bike, making it unique and fun to ride.
Tools and Materials for Fixing or Changing Motorcycle Fairings
Must-Have Tools for Fixing Motorcycle Fairings
Fixing fairings is easier with the right tools. You don’t need a big workshop, just these simple items:
Plastic Welding Kit: Fixes cracks in ABS plastic fairings.
Sandpaper (Various Grits): Smooths rough spots and preps for painting.
Epoxy Adhesive: Strong glue for joining broken parts.
Quarical ABS Single Repair Kit: Highly rated with a perfect 5.00 score.
These tools are cheap and easy to find. They’ll help you fix fairings like an expert.
Tools for Changing Motorcycle Fairings
Switching out fairings is simple if you have these tools:
Socket Wrench Set: Removes screws and bolts easily.
Allen Keys: Tightens and loosens fairing fasteners.
Rubber Mallet: Adjusts fairings gently without breaking them.
Torque Wrench: Tightens bolts to the right level.
These tools make replacing fairings fast and simple. Keep them handy for smooth work.
Materials for Fixing ABS Plastic and Fiberglass Fairings
Using the right materials is important for fixing fairings. ABS plastic and fiberglass are common fairing types, each with pros and cons.
Material | Durability Details |
|---|---|
ABS Plastic | Can crack near bolts under stress. Repairs may not last in crashes. |
Fiberglass | Stronger and less brittle than ABS. Handles crashes better without cracking. |
For ABS fairings, use plastic welding rods and epoxy glue. For fiberglass, use resin and fiberglass cloth to fix damage. Both can be sanded and painted for a clean look.
With the right tools and materials, your fairings will look great and work well.
Step-by-Step Guide to Repair Motorcycle Fairings
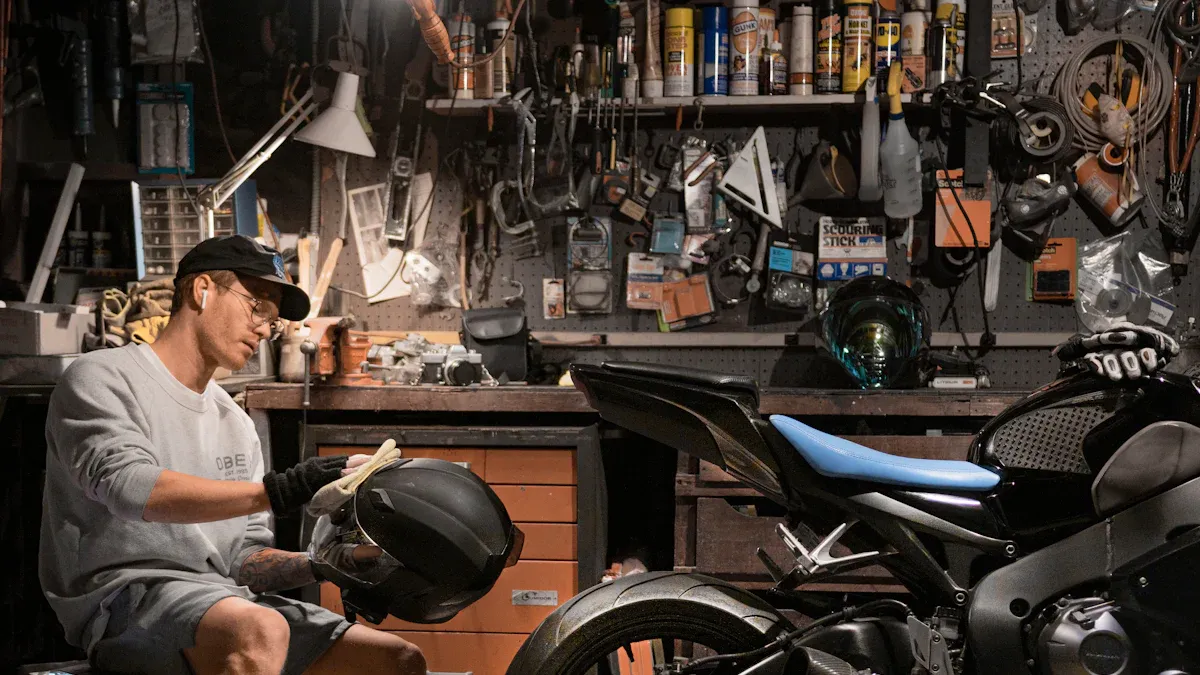
Repairing Cracks in ABS Plastic Fairings
Fixing a broken motorcycle fairing made of ABS plastic is easier than you might think. With the right tools and techniques, you can restore your fairings to their original condition. Here’s how you can do it:
Pour the solvent into a small container.
Sand the broken edges to remove rough spots.
Use tape to hold the fairing together while you work.
Apply the solvent to the edges and press them together firmly.
Let it dry for about 30 minutes before removing the tape.
Using ABS Cement:
Sand the surface to make it smooth.
Apply ABS cement to the edges and tape them together.
Allow the cement to dry completely for a strong bond.
Using Plastic Welding:
Tape the cracked parts together to hold them in place.
Use a soldering iron to melt plastic strips into the crack.
Smooth out the welded area for a clean finish.
For best results, always use ABS-specific adhesives. These products chemically bond the plastic, ensuring a durable repair. Reinforce the crack by applying ABS cement to both the front and back of the fairing.
Fixing Fiberglass Fairings
Fiberglass fairings are strong but can crack under pressure. Repairing them requires a bit more effort, but the results are worth it. Follow these steps to fix your fiberglass fairings:
Gather the materials: fiberglass cloth, resin, catalyst, filler, and a roller.
Sand the cracked area to remove dirt and old paint.
Tape the area to hold the crack together. Apply filler to smooth out the surface.
Mix resin with catalyst and spread it over the damaged area.
Place fiberglass cloth on top of the resin and use a roller to remove air pockets.
Let the repair dry completely before removing the tape.
For added strength, layer additional fiberglass after the first layer dries. Sand down any excess material and apply polyester body filler for a polished look. Epoxy resin works well for water-resistant repairs, making it ideal for long-term durability.
Sanding, Painting, and Finishing Repairs
Once you’ve repaired your motorcycle fairings, it’s time to make them look as good as new. Sanding, painting, and finishing are the final steps to complete the job:
Sanding: Use sandpaper with varying grits to smooth out the repaired area. Start with coarse grit and gradually move to finer grit for a polished surface.
Painting: Choose a paint that matches your bike’s color. Apply primer first, then spray the paint evenly over the fairing. Let it dry before adding a clear coat for protection.
Finishing: Buff the surface with a polishing compound to give it a glossy finish. This step not only enhances the appearance but also protects the fairing from future damage.
Pro Tip: Use a dust-free environment for painting to avoid imperfections. Also, wear gloves and a mask to protect yourself from fumes during the process.
By following these steps, you can repair motorcycle fairings effectively and restore their original look and functionality.
Replacing Motorcycle Fairings: A Complete Guide
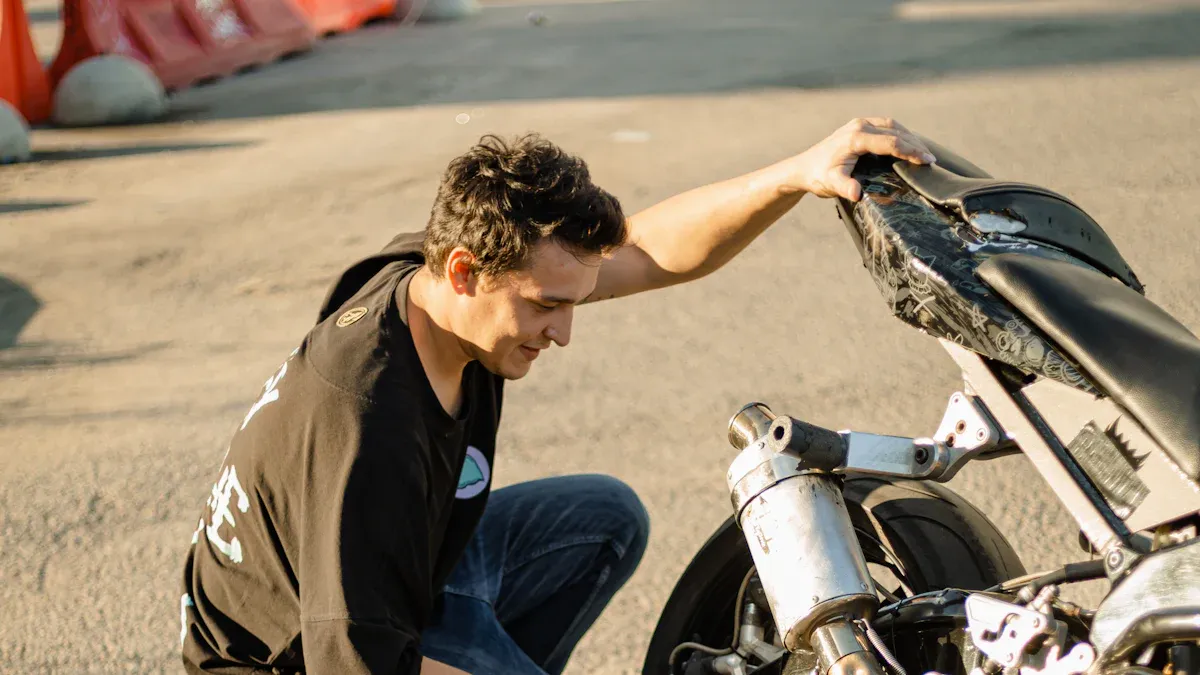
Selecting the Right Fairing Kit
Choosing the right motorcycle fairings kit is the first step to giving your bike a fresh look and improved performance. Not all fairings are created equal, so you’ll want to pick one that fits your bike perfectly and meets your needs. Start by checking your motorcycle’s make and model. This ensures the kit you select will align with your bike’s design and attachment points.
Fairings do more than just make your bike look good. They play a big role in how it handles on the road. A well-designed fairing can reduce drag and improve stability, especially at high speeds. For example, studies show that a faired motorcycle has a drag coefficient of 0.318, which means it faces less air resistance. This not only makes your ride smoother but also enhances fuel efficiency. If you’re into performance, look for fairings that optimize lateral and down forces. These features help your bike stay steady during sharp turns or windy conditions.
When shopping for a motorcycle fairings kit, consider the material. ABS plastic is lightweight and affordable, while fiberglass offers more durability. Some kits even come pre-painted, saving you time and effort. If you’re unsure, ask yourself: Do you want a sleek, aerodynamic design for speed, or are you looking for something more rugged for protection? Answering this will help you narrow down your options.
Removing Old Motorcycle Fairings
Before you can install new fairings for the bike, you’ll need to remove the old ones. This step might seem tricky, but with a little patience, you can get it done without damaging your bike. Start by gathering the tools you’ll need, like a socket wrench, Allen keys, and a screwdriver. These will help you loosen the screws and bolts holding the fairings in place.
Here’s how to remove your old fairings step by step:
Locate all the screws and fasteners on your current fairings. These are usually found near the edges and attachment points.
Use the appropriate tool, like an Allen key or screwdriver, to loosen and remove each fastener. Keep them in a safe place—you might need them later.
Gently pull the fairings away from the bike. If they feel stuck, check for any hidden screws you might have missed.
Disconnect any attached components, like turn signals or wiring, before fully removing the fairings.
Take your time during this process. Rushing can lead to scratches or broken parts. If you’re unsure about anything, refer to your bike’s manual for guidance. Once the old fairings are off, clean the exposed areas to prepare for the new installation.
Installing New Motorcycle Fairings
Now comes the exciting part—installing your new motorcycle fairings. This step requires precision to ensure everything fits securely and looks great. Start by laying out all the pieces from your motorcycle fairings kit. Double-check that you have everything you need, including screws, fasteners, and any additional components.
Follow these steps for a smooth installation:
Match each piece of the fairing kit to its corresponding spot on your bike. Having the OEM number handy can help you confirm the fit.
Identify the attachment points on your motorcycle. These are the areas where the fairings will be secured.
Begin attaching the fairings one piece at a time. Use a ratchet or screwdriver to set the fasteners in place.
Tighten the fasteners gradually. This ensures the fairings stay aligned as you work.
Double-check that all pieces are secure. Give each section a gentle tug to make sure it’s firmly attached.
During the installation, avoid overtightening the screws. This can crack the fairings or strip the threads. If your kit includes a windscreen, install it last to avoid accidental scratches. Once everything is in place, step back and admire your work. Your bike should now look as good as new, with fairings that enhance both its style and performance.
Pro Tip: After installing the fairings, take your bike for a short ride. This helps you spot any loose parts or adjustments that might be needed.
Replacing motorcycle fairings doesn’t have to be complicated. With the right tools, a quality fairing kit, and a bit of patience, you can transform your bike in no time.
Customization and Maintenance Tips for Motorcycle Fairings
Painting and Customizing Your Fairings
Making your motorcycle fairings unique is a fun way to personalize your bike. Whether you want a bold design or a simple change, painting is an easy option. First, pick a paint type that fits your needs. Here’s a quick guide to popular choices:
Paint Type | What It Does | How Durable It Is |
|---|---|---|
Single Stage Paint | Combines color and shine in one coat | Less strong, good for small fixes |
Two-Stage Paint | Has a base coat and clear coat | Very strong, resists weather, sun, and chemicals |
1K Coatings | No hardener needed | Less strong, great for DIY projects |
2K Coatings | Mixed with hardener for toughness | Super strong, best for professional finishes |
For lasting results, choose two-stage or 2K coatings. These protect better against scratches and fading. Want something creative? Try designs like flames, stripes, or a matte finish. New tools like 3D printing make custom designs easier. Many websites now sell pre-made or custom fairings to match your style.
Pro Tip: Always sand and clean your fairings before painting. This helps the paint stick better and last longer.
Protecting Fairings from Damage
Keeping your fairings safe is simple with a few steps. These tips will help them stay in great shape:
Use a Motorcycle Cover: Covers protect your bike from dust, rain, and sunlight that fades paint.
Add Frame Sliders: These guard your fairings during small falls or accidents.
Avoid Strong Cleaners: Use mild soap and water to clean fairings. Strong cleaners can harm paint or plastic.
Park in Shade: Avoid parking in direct sunlight for long periods to prevent fading.
These small actions can save you money on repairs and keep your bike looking great.
Regular Maintenance for Longevity
Taking care of your fairings regularly helps them last longer. Check them every few weeks for cracks, loose screws, or fading paint. Fixing small problems early stops bigger issues later.
Clean your fairings often to remove dirt. Use a soft cloth to avoid scratches. If you see scratches or chips, fix them with matching paint to stop further damage.
Keep fasteners and hinges oiled to prevent rust. This also makes it easier to remove or adjust fairings when needed. Lastly, apply wax or sealant for extra protection from water and sunlight. This keeps your fairings looking fresh.
Did You Know? Regular care not only keeps your fairings in good shape but also helps your bike keep its value.
Repairing or replacing your motorcycle fairings doesn’t have to be complicated. With the right tools and steps, you can get the job done quickly. Acting fast keeps your bike looking sharp and running smoothly.
Pro Tip: Regular maintenance saves you time and money. Inspect your fairings often to catch issues early.
FAQ
How do I know if my motorcycle fairing is repairable?
If the damage is minor, like small cracks or scratches, you can repair it. Severe damage, like large breaks or missing pieces, may require replacement.
Can I replace motorcycle fairings myself?
Yes, you can! With the right tools and a fairing kit, replacing them is straightforward. Follow the steps in this guide for a smooth process.
How long does it take to repair or replace a motorcycle fairing?
Repairing a fairing usually takes a few hours, depending on the damage. Replacing it might take a day, especially if you're new to the process.
See Also
Essential Guide to Replacing and Repairing Motorcycle Fairings
Steps to Repair a Motorcycle Fairing Post-Accident
Five Cost-Effective Strategies for Motorcycle Fairing Replacement
