Install motorcycle fairings on GSX-R600 for beginners

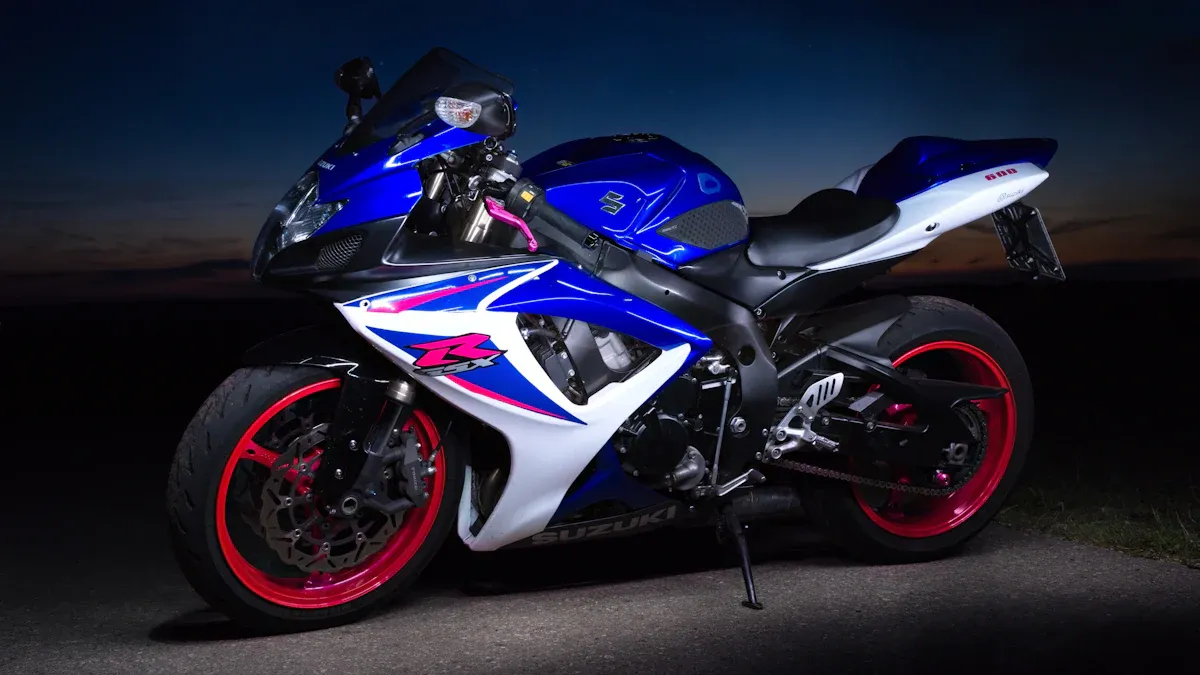
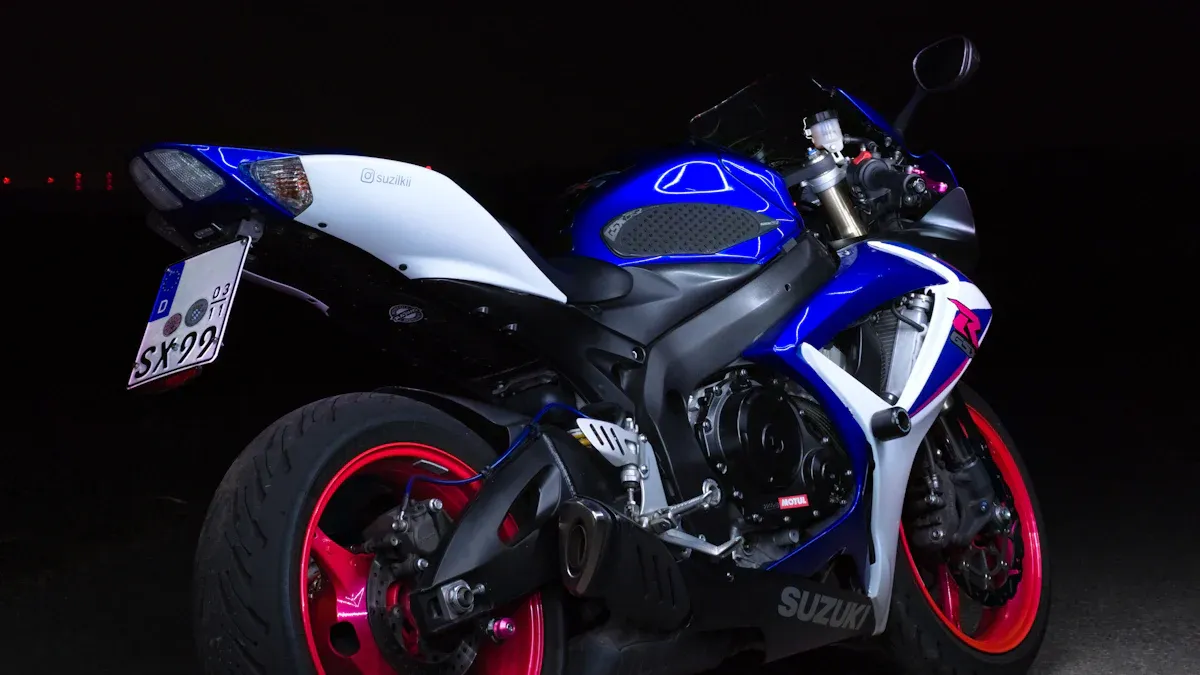
You might think that trying to install motorcycle fairings on your GSX-R600 sounds tough, but you can do it with some patience. You do not need special skills or years of experience. Quality fairings, like the ones from Nicefairings, make the job easier. Just follow each step and take your time. You will feel proud when you see your bike looking sharp and new.
Key Takeaways
Get all the tools you need and make sure your workspace is clean and bright before you start putting on the fairings.
Take off the old fairings slowly, keep all screws and bolts in order, and take pictures so you remember where everything goes.
Put the new fairings on by fitting the panels loosely at first, check if they line up, and then tighten the bolts evenly starting from the middle.
Do not force the panels or fasteners; move them around and line them up again so you do not break anything and everything fits right.
Always check everything at the end to make sure it is tight, fits well, and is safe before you ride your bike.
Tools and Preparation
Tools Needed
Before you start, gather all the tools you need for smooth bodywork installs. Here’s a handy list to keep you on track:
Socket sets: Use both shallow and deep 3/8-inch drive sockets. Six-point sockets grip better, while 12-point sockets help in tight spots.
3/8-inch ratchet: Pick one with a high tooth count (72+ teeth) for easier turning in small spaces.
Torque wrench: Make sure it covers 5-80 foot-pounds. This helps you tighten bolts just right, especially on axles and calipers.
Breaker bar: Gives you extra power to loosen stubborn bolts.
Screwdriver set: Get both flat and Phillips styles with magnetic tips. For Japanese bikes like the GSX-R600, JIS cross-head screwdrivers work best and protect your fasteners.
Hex key set (Allen wrenches): Ball ends help you reach tricky spots. 3/8-inch drive hex sockets are great for bigger bolts.
Organizational tools: Use socket rails and magnetic trays to keep your bodywork fasteners safe and easy to find.
Having the right tools makes bodywork much easier and helps you avoid mistakes.
Workspace Setup
Set up your workspace before you touch your bike. Choose a clean, flat area with good lighting. Lay out a soft mat or towel to protect your bodywork from scratches. Keep all your tools and fasteners organized. Use small containers or trays for screws and clips. Take photos as you remove each piece of bodywork. These pictures will help you remember where everything goes during reassembly. Staying organized saves time and keeps your bodywork looking sharp.
Safety Tips
Safety always comes first when working on bodywork. Disconnect the battery before you start. This step protects you from electrical shocks and prevents accidental short circuits. Research shows that even though battery fires are rare, they can happen if you damage or mishandle the battery. Treat it with care and keep it away from heat or sharp tools. Wear gloves to protect your hands from sharp edges on the bodywork. Proactive safety habits, like following instructions and staying alert, help prevent accidents. Good communication and careful planning make bodywork installs safer and more enjoyable.
Tip: Take your time and double-check each step. Careful work leads to a better finish and fewer problems later.
Remove Old Fairings
Disassembly Steps
You need to take off all the old bodywork before you can start fresh. Start by looking at your GSX-R600 and spotting every piece of bodywork you want to replace. Most bikes have front, side, and tail panels. Use your screwdriver or socket set to remove the screws and bolts holding the bodywork in place. Work slowly and gently. If you rush, you might crack a panel or strip a screw.
Some parts, like the headlights or air intakes, might get in your way. You can remove these for better access. Unplug the headlight wiring and set the light aside. Take out the air intakes if they block your reach. This step makes the rest of the job much easier.
Tip: Take a photo after you remove each piece of bodywork. These pictures help you remember where everything goes when you put it all back together.
Tracking Fasteners
You will end up with a lot of screws, clips, and bolts. It is easy to lose track of them. Use small containers or trays to keep each set of fasteners together. Label each container with the part of the bodywork it belongs to. For example, you can write "left side panel" or "front fairing" on a sticky note and stick it to the tray.
A simple table can help you stay organized:
Bodywork Part | Fasteners Location | Notes |
|---|---|---|
Front Fairing | Headlight area | 4 screws, 2 clips |
Left Side Panel | Lower frame | 3 bolts, 1 clip |
Tail Section | Rear seat area | 2 bolts, 2 screws |
If you keep your fasteners sorted, you will save time and avoid confusion later. You will also make sure every piece of bodywork fits tight and secure when you install the new panels.
Note: Never force a fastener. If it does not fit, double-check the part and try again.
Fairing Installation Guide

Ready to install motorcycle fairings on your GSX-R600? This part will walk you through each step. You will see how to handle every piece of bodywork, from the front to the tail. Let’s get started!
Front Fairing
Start with the front fairing. Hold it up to the bike and check that all pre-drilled holes line up with the mounting points. Most fairing kits come with these holes already made, which saves you time and helps with fitment. If you notice a hole is a bit off, you can carefully adjust it with a small file or drill. Always wear gloves and safety glasses when you do this.
Follow these steps:
Loosely attach the front fairing using the screws and bolts from your kit. Do not tighten them all the way yet.
Make sure the fairing sits evenly around the headlights and does not touch the forks or radiator.
Use the correct washers and rubber grommets to protect the paint and help with alignment.
Once everything lines up, tighten the bolts by hand, starting from the center and moving outward. This keeps the fairing assembly even and secure.
Tip: If you use a quality fairing kit like Nicefairings, you will get ABS plastic panels with heat guards. These resist cracking and handle engine heat better than cheap plastics.
Side Fairings
Now move to the side fairings. These panels cover the engine and frame. Hold each side fairing up and check the fitment with the pre-drilled holes. If you see any gaps or rubbing, adjust the panel before you bolt it down.
Here are some tips to install side fairings:
Hand-start all bolts and push clips. This helps you avoid cross-threading.
Use step or shoulder washers to match the original bodywork hardware. These washers prevent scratches and help the fairing sit flat.
If a hole seems too big, add a rubber grommet for a snug fit.
Do not force the fairing into place. If it does not fit, double-check the alignment and try again.
A quick table can help you remember what to check:
Step | What to Do | Why It Matters |
|---|---|---|
Hand-start bolts | Insert by hand, not with a power tool | Prevents stripping threads |
Check alignment | Make sure panels line up with frame | Ensures smooth fitment |
Use washers/grommets | Add as needed for painted parts | Protects finish and fit |
Note: Drilling holes off the bike can help with alignment. If you need to make adjustments, do it before painting or final assembly.
Tail Fairing
The tail fairing can be tricky, but you can handle it. Hold the tail fairing in place and loosely install all screws by hand. This lets you shift the panel for perfect fitment before you tighten anything.
Follow these steps:
Use the factory rubber well-nuts and screws for the best fit. If you need quick-release fasteners for racing, install those instead.
If the mounting brackets look bent, gently bend them back into place. This helps the fairing line up with the holes.
Mark and cut holes for sliders or other accessories before you put everything together. Use a holesaw for a clean cut.
Once you are happy with the fit, tighten the screws evenly.
Tips: Loosely install all screws first. This makes it easier to adjust the tail fairing and avoid stress on the plastic.
Fairing Alignment
Proper alignment is key when you install motorcycle fairings. Take your time and check each panel before you tighten the bolts. Good fitment means the panels sit flush and do not rub against each other or the frame.
Here are some tips to install motorcycle fairings with perfect alignment:
Always start by hand and tighten from the center outward.
Use spacers or longer screws if you need extra clearance.
If you see a gap or the panel does not sit right, loosen the bolts and adjust the position.
Never force a panel into place. Forcing can crack the fairing or damage the mounting points.
Use a complete bolt kit for your GSX-R600. Stainless steel fasteners last longer and resist rust.
A quick look at industry recommendations:
Aspect | Recommendation/Detail |
|---|---|
Fastener Kits | Use model-specific stainless steel bolt kits for durability. |
Fastener Depth | Make sure screws have the right length for secure attachment. |
Installation Sequence | Hand-start all bolts, tighten from center outward for even fitment. |
Washers/Clip Nuts | Use flat washers for painted parts, adjust clip nuts for soft fit and alignment. |
Callout: Nicefairings offers fairing kits with pre-drilled holes, heat guards, and a complete bolt kit. This makes the process smoother and helps you get the best fitment.
When you put everything together, step back and check your work. Make sure all bodywork panels look even and secure. If you spot a problem, loosen the bolts and realign the fairing. These tips will help you get a professional finish, even if this is your first time working with a fairing kit.
Troubleshooting and Checks
Misalignment Issues
Sometimes, after you finish a fairing installation, you might notice that the panels do not line up just right. This can happen if you tighten bolts before checking the fitment. If you see gaps or panels that stick out, loosen the bolts and adjust the fairing until everything sits flush. Always start by hand-tightening the screws. Step back and look at your bike from different angles. If you still have trouble, watch a GSX-R600 video tutorial. These videos show you how to fix common alignment problems.
Tip: Never force a panel into place. Forcing can crack the fairing or damage the mounting points.
Missing Hardware
It is easy to lose a screw or clip during a fairing installation. Missing hardware can cause rattling or loose panels. Check your trays and containers for any leftover fasteners. If you cannot find the right piece, use a complete bolt kit made for your GSX-R600. These kits match the original hardware and help you get a secure fit. If you run into a stubborn spot or a missing part, ask for help on a motorcycle forum or from a local shop.
Problem | What to Do |
|---|---|
Missing screw | Use a replacement from a bolt kit |
Lost clip | Buy a new one or ask a dealer |
Wrong fastener | Double-check size and type |
Final Inspection
Before you ride, always do a final inspection. This step keeps you safe and protects your bike. Here are some things to check:
Make sure all bolts and screws are tight.
Look for any gaps or loose panels.
Check that every fairing sits flush and does not move.
Test the lights and signals to make sure nothing got unplugged.
Performance tests show that bolts can fail if they do not meet strength or size standards. Some bolts may not have enough carbon, which makes them weak. Others might rust if they do not have the right coating. If you do not torque bolts correctly, they can loosen or break. That is why a careful inspection matters.
The motorcycle industry uses a standard checklist for final inspections. This checklist helps you catch problems before they become serious. If your bike has custom parts or you cannot get the fitment right, talk to a professional. They have the tools and experience to help.
Note: Taking time for a final check can save you from headaches later. Safety always comes first!
You just learned how to install motorcycle fairings on your GSX-R600. Here’s a quick recap:
Gather your tools and set up your workspace.
Remove old fairings and keep track of fasteners.
Install each new panel, checking alignment as you go.
Inspect every bolt and make sure the fit looks right before you ride.
Tip: Nicefairings offers reliable kits and support if you need extra help. Share your experience or ask questions—there’s always someone ready to help!
FAQ
How long does it take to install motorcycle fairings?
You can finish the job in about 2 to 4 hours. If you are new, take your time. Double-check each step. Rushing can lead to mistakes. Enjoy the process!
Do I need special tools for this job?
You do not need fancy tools. A socket set, screwdrivers, and Allen wrenches work well. A torque wrench helps with tight bolts. Keep your tools organized for a smoother install.
What if my fairings do not fit perfectly?
Do not force the panels. Loosen the bolts and adjust the fairings. Try to align the holes. If you still have trouble, check for leftover fasteners or watch a GSX-R600 video guide.
Can I reuse old bolts and clips?
You can reuse some old hardware if it is not damaged or rusty. For the best results, use a new bolt kit. New fasteners help your fairings stay tight and secure.
Tip: Always check your work before riding. Safety comes first!
See Also
Step By Step Guide To Making Motorcycle Fairings Yourself
Premium Custom Motorcycle Fairings Available At Nicefairings
Easy Motorcycle Fairings Solutions For Riders Across The UK
Complete Guide To Repairing And Replacing Motorcycle Fairings
Best Affordable 2024 Suzuki GSX-R600/750 Fairing Kits Below $500

