How to take motorcycle riding photos


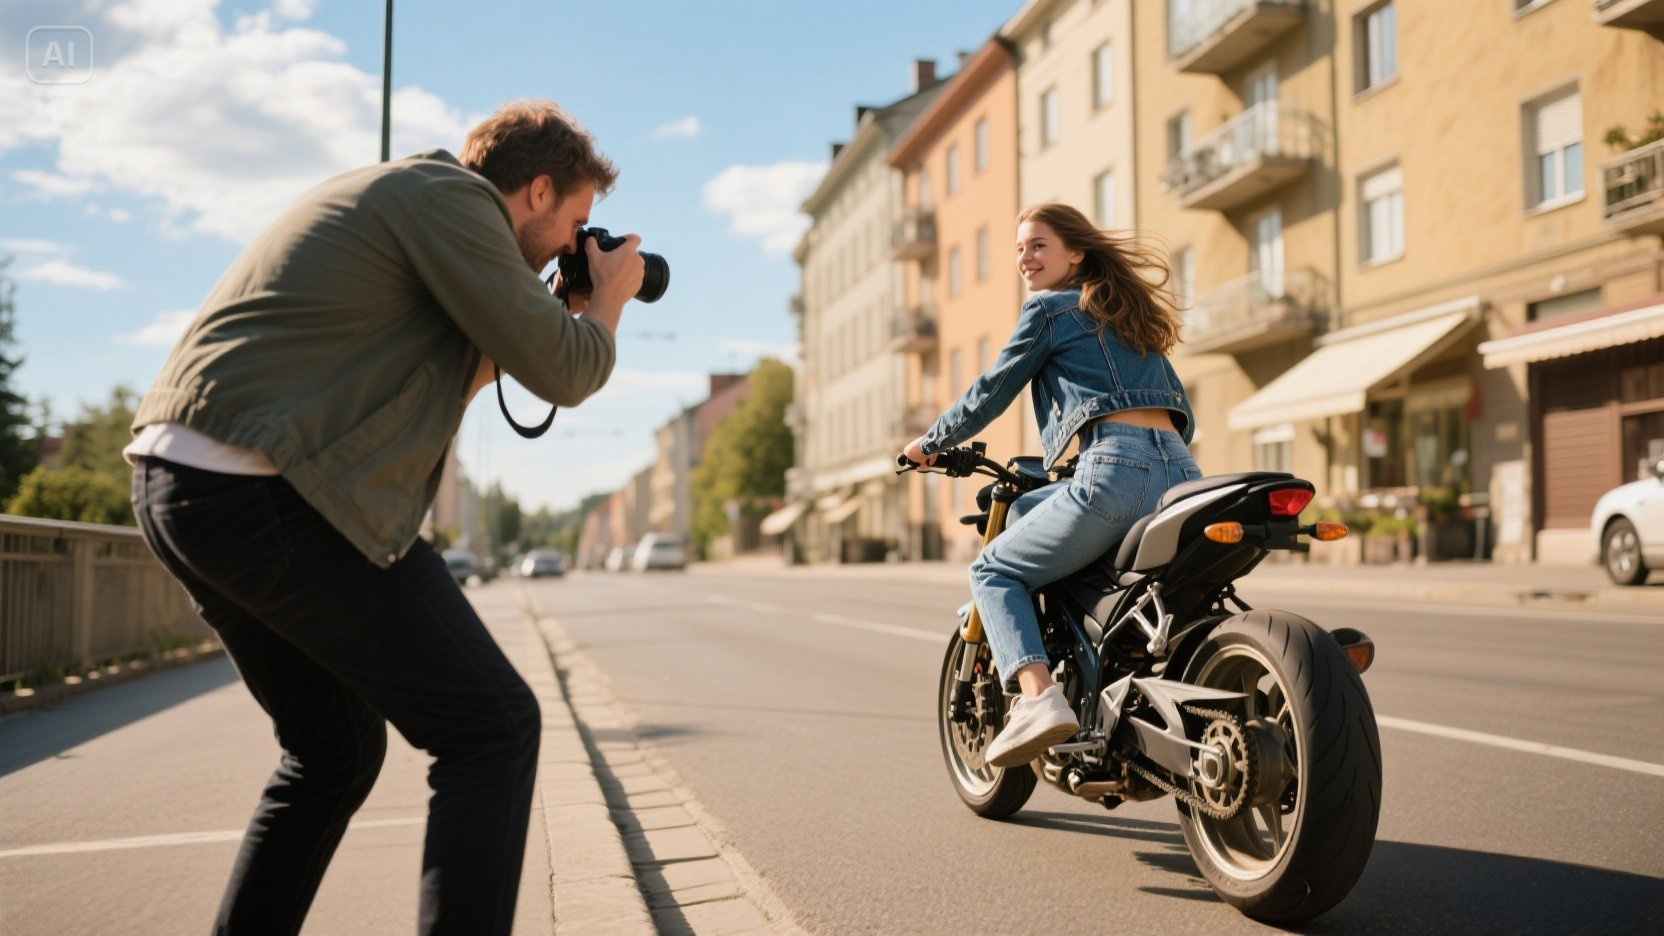
Motorcycle riding photos showcase the thrill of riding on the road. They should capture the fun, speed, and adventure in each shot. Good riding photos aren’t just random pictures; they tell a story of the ride. Want to make your riding moments unforgettable in pictures?
Key Takeaways
Choose the right camera and lens for your skill level. A good option for beginners is the Sony A6600 with a telephoto lens.
Plan your shots by discussing ideas with the rider. Clear communication helps capture the best moments safely.
Experiment with shutter speed to freeze action or create motion blur. Fast speeds like 1/1000th of a second freeze action, while slower speeds like 1/30th add a sense of speed.
Preparation for Motorcycle Photography
Picking the Best Camera and Lenses
The camera you use affects your motorcycle photos a lot. You don’t need pricey equipment, but choosing wisely helps. For beginners, a Sony A6600 with a telephoto lens is great for action shots like motocross. If you’re more advanced, a Canon 7D with a 24-105 f4L lens is very flexible. Want something affordable? The Nikon D700 with an 80-200 f/2.8 lens is a great option for sports pictures.
Think about the photos you want when picking lenses. Wide-angle lenses are great for big, dramatic scenes. Telephoto lenses let you zoom in on the rider while keeping details sharp. Keep your gear light and easy to carry, especially if you’ll move around a lot during the shoot.
Finding the Best Spot for Riding Photos
The place you choose sets the tone for your photos. Open roads, mountain curves, or city streets each tell a unique story. Look for places with cool backgrounds like forests, bridges, or city views. Stay away from messy areas that might take attention away from the rider and bike.
The time of day matters too. Early mornings or late afternoons give soft, pretty light for photos. If it’s midday, find shade to avoid harsh shadows. Check out the location before the shoot to plan your shots and stay safe.
Working with the Rider to Plan Shots
Before taking pictures, talk with the rider. Decide what kind of photos you want. Are you going for fast action or a calm, cruising look? Share your ideas and listen to theirs too.
Plan the rider’s moves ahead of time. For action shots, agree on their speed and direction. For still shots, pick poses that show off the bike’s design. Use hand signals or simple words to guide them during the shoot. Good planning helps you get awesome photos and keeps everyone safe.
Camera Settings for Action Shots
Taking great motorcycle photos needs the right camera settings. These settings help you capture the excitement of the ride. You can freeze action or show motion blur by adjusting your camera.
Shutter Speed for Motion Blur or Freezing Action
Shutter speed is very important for action photos. It decides how long light hits your camera sensor. This affects whether the action is frozen or blurred. To freeze action, use a fast shutter speed like 1/1000th of a second. This setting captures clear details, like the rider’s position or spinning wheels.
If you want motion blur, use a slower shutter speed like 1/30th of a second. This makes the background blurry but keeps the motorcycle sharp. It adds a feeling of speed to your photo. Check this table to see how shutter speed changes your shots:
Shutter Speed (ms) | Blur Width (µm) | Shake Reduction Effect |
|---|---|---|
8 | Variable | Yes/No |
44 | Minimum Blur | Yes |
1200 | Reduced Blur | Yes |
Try different shutter speeds to find what works best. Practice often to improve your skills!
Adjusting Aperture for Depth of Field
Aperture controls how much of your photo is in focus. For motorcycle pictures, it helps highlight the bike and rider. A mid-range aperture, like f/5.6 to f/11, keeps the motorcycle sharp and the background clear.
For a creative look, use a wider aperture like f/2.8 with a longer lens. This blurs the background and makes the motorcycle stand out. It’s great for showing off the bike’s design. Here are some tips for aperture settings:
Use f/5.6 to f/11 for sharpness and balanced focus.
Use f/2.8 with a long lens to make the subject pop.
Changing the aperture lets you control focus and create amazing photos.
Setting ISO for Lighting Conditions
ISO changes how sensitive your camera is to light. For motorcycle photos, adjust ISO based on the light around you. Use a low ISO, like 100 or 200, in bright daylight to avoid grainy pictures. In darker places, raise ISO to 800 or 1600 to brighten the image. But higher ISO can make photos look noisy, so find a good balance.
Here are some ISO tips:
Use a shutter speed of at least 1/60th of a second to avoid blur.
For action shots, use faster shutter speeds and adjust ISO for brightness.
Learning ISO settings helps you take clear, bright photos anytime and anywhere.
Composition Tips for Motorcycle Photography
Framing the Shot for Maximum Impact
How you frame a photo is very important. To make the rider and bike stand out, think about their position in the picture. Try using the golden triangle method. Imagine your photo divided into triangles with diagonal lines. Place the motorcycle or rider where the lines meet. This makes the picture look balanced and interesting.
Decide if horizontal or vertical framing works better for your shot. Horizontal frames are great for wide scenes, like a bike on a long road. Vertical frames are better for tall subjects, like a rider standing by their bike. Keep the background simple so it doesn’t distract from the main subject.
Pro photographers often use long lenses to add depth. They also use dark backgrounds or strong lines to make the bike stand out. Leave some extra space in your photo for cropping later.
Experimenting with Angles and Perspectives
The angle of your photo changes how it feels. A low angle makes the bike look big and strong. Shooting at eye level makes the viewer feel like they’re part of the scene. For something different, try taking a photo from above to show details like the seat or handlebars.
Side views are a classic choice. They show off the bike’s shape and design. Use things like roads or trees to lead the viewer’s eyes to the bike. Move around and try new angles. Sometimes the best photo comes from a surprising spot.
Telling a Story Through Your Photos
Good photos tell a story, and motorcycle pictures can too. Use the rule of thirds to place the bike or rider off-center. This makes the photo more exciting. Leading lines, like a road or fence, can guide the viewer’s eyes through the picture.
Lighting is also key. Soft light during sunrise or sunset adds adventure. Shadows can make the photo feel mysterious. Colors matter too. A bright red bike against a plain background shows energy and excitement. Think about the feeling you want your photo to have and adjust your setup.
Photos with a story are more fun to look at. Whether it’s speed or calmness, let your pictures show the feeling of the ride.
Techniques for Capturing Motion in Riding Photos
Mastering Panning for Dynamic Shots
Panning is a great way to show speed in photos. It works by moving your camera with the motorcycle as it passes. This keeps the bike clear while the background looks blurry, adding energy to the picture.
To try panning, set your camera to a slow shutter speed, like 1/30 or 1/60 of a second. Stand next to the motorcycle’s path. When the rider gets close, focus on them and move your camera smoothly with the bike. Keep steady and press the shutter button while following the motion.
Tip: Start with slower bikes to practice before trying faster ones.
Here’s a simple panning checklist:
Use a tripod or monopod to keep steady.
Set your camera to take many shots quickly.
Stay relaxed to avoid shaky movements.
With practice, you’ll take exciting photos that show the thrill of riding.
Shooting from a Moving Vehicle
Want cooler action shots? Try taking pictures from a moving car or truck. This gives you angles you can’t get while standing still.
Safety comes first. Use a stable vehicle and make sure you’re secure. Talk with the driver and rider to plan speeds and directions.
Use a fast shutter speed, like 1/1000 of a second, to stop motion and avoid blur. A wide-angle lens captures the whole scene, while a telephoto lens zooms in on the rider for details.
Note: Always secure your camera with a strap or harness to avoid accidents.
Shooting from a moving vehicle adds excitement to your photos. It’s great for showing fast rides or dramatic roads.
Timing Your Shots for the Best Results
Timing is key for amazing motorcycle photos. You need to predict the rider’s moves and snap the picture at the perfect moment.
Watch the rider’s path closely. Look for exciting moments, like sharp turns, speeding up, or jumping. These are the best times to capture action.
Use burst mode to take many pictures quickly. This helps you catch the perfect shot. Keep the background simple so the rider and bike stand out.
Pro Tip: Practice timing by photographing fast things like cars or bikes. This will help you react faster and improve your skills.
Good timing makes your photos tell a story. It shows the speed and excitement of motorcycle riding.
Safety Tips for Motorcycle Photography
Keeping the Rider Safe During Photos
The rider’s safety is the most important thing. Before starting, check they have the right gear. They should wear a helmet, gloves, and strong boots. For action shots, inspect the motorcycle. Make sure the tires, brakes, and lights work well.
Pick a safe spot for the shoot. Stay away from busy roads or places with sudden obstacles. For fast shots, have the rider follow a clear, safe path. Talk clearly so they know what to do.
Tip: Keep a first-aid kit close by. It’s always good to be ready.
Staying Safe as the Photographer
Your safety is just as important as the rider’s. Always stay aware of what’s around you. If motorcycles are moving nearby, keep a safe distance. Use a zoom lens to take close-up pictures without getting too close.
Don’t stand in the rider’s way or near hidden turns. If you’re in a moving car, secure yourself well. Use a strap or harness to hold your camera steady and avoid accidents.
Note: Wear bright clothes so the rider and others can see you easily.
Communicating Clearly with the Rider
Clear communication makes everything safer and easier. Before starting, agree on simple hand signals or words with the rider. These signals help guide their moves during the shoot.
For action shots, tell the rider where to go faster or slower. If they need to repeat a move, use a signal you both know. Keep directions short and simple.
Pro Tip: Practice the signals before the shoot. This avoids confusion when taking photos.
Good communication keeps everyone safe and helps you take amazing pictures with the perfect setup.
Post-Processing Tips for Motorcycle Action Shots
Making Colors and Contrast Stand Out
Editing makes your motorcycle photos look amazing. Adjust colors to make the bike pop. Boost vibrancy to brighten the bike’s colors. If the background looks plain, increase saturation a little. This adds depth but keeps the focus on the bike.
Contrast is also key. Higher contrast makes the bike’s lines sharper and adds drama. For action shots, adjust shadows and highlights to show movement. Use tools like Lightroom or Photoshop to make these changes.
Tip: Don’t over-edit. Small changes look better and keep photos natural.
Cropping and Straightening for Better Photos
Cropping and straightening improve your motorcycle pictures. Cameras often capture more than needed, so crop to remove distractions. This helps focus on the bike or rider.
Make sure the horizon is straight. A level horizon makes the photo look professional and balanced. Why are these steps important?
Cropping removes clutter and highlights the subject.
Straightening the horizon makes the photo look polished.
Take your time with these edits. They can turn a good photo into a great one.
Adding Motion Effects for Excitement
Motion effects make action shots more thrilling. Add blur to show speed or movement. Use tools like radial or directional blur to make the bike look fast.
Keep the bike sharp while blurring the background for energy. This mimics panning and adds excitement. Try adding light trails or dust for a creative touch.
Pro Tip: Always save the original photo before editing. This way, you can fix mistakes later.
Taking pictures of motorcycle rides is a fun way to show the excitement of adventures. By planning ahead and being creative, you can take photos that share a great story. Try different methods, stay safe, and keep practicing. With time, your skills will get better, and your photos will look amazing.
FAQ
How can I make motorcycle photos more exciting?
Try using panning or motion blur techniques. These make your pictures look lively and full of action.
What’s a good way to practice taking action photos?
Begin with slower things like bikes or cars. As you get better, move on to motorcycles for more challenge.
Do I need costly gear for motorcycle pictures?
No, you don’t! Cheaper cameras and lenses work well too. Focus on learning skills and being creative instead of buying expensive tools.
See Also
Tips for Ensuring Safety During Your Initial Motorcycle Journey
Key Advice for Crafting the Motorcycle of Your Dreams
Important Safety Guidelines for Riders Using Motorcycle Fairings
Guidelines for Selecting the Perfect Pre-Owned Motorcycle
Money-Saving Tips for Effective Motorcycle Maintenance and Repairs
