How to Design a One-of-a-Kind Motorcycle Fairing Kit

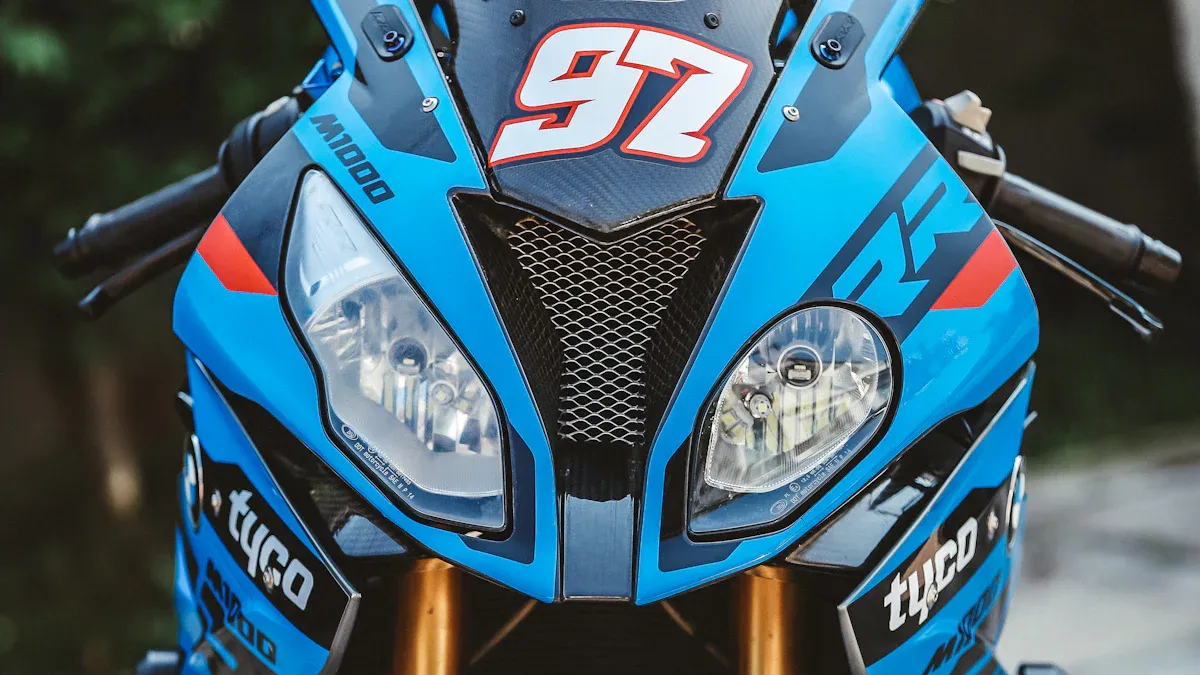
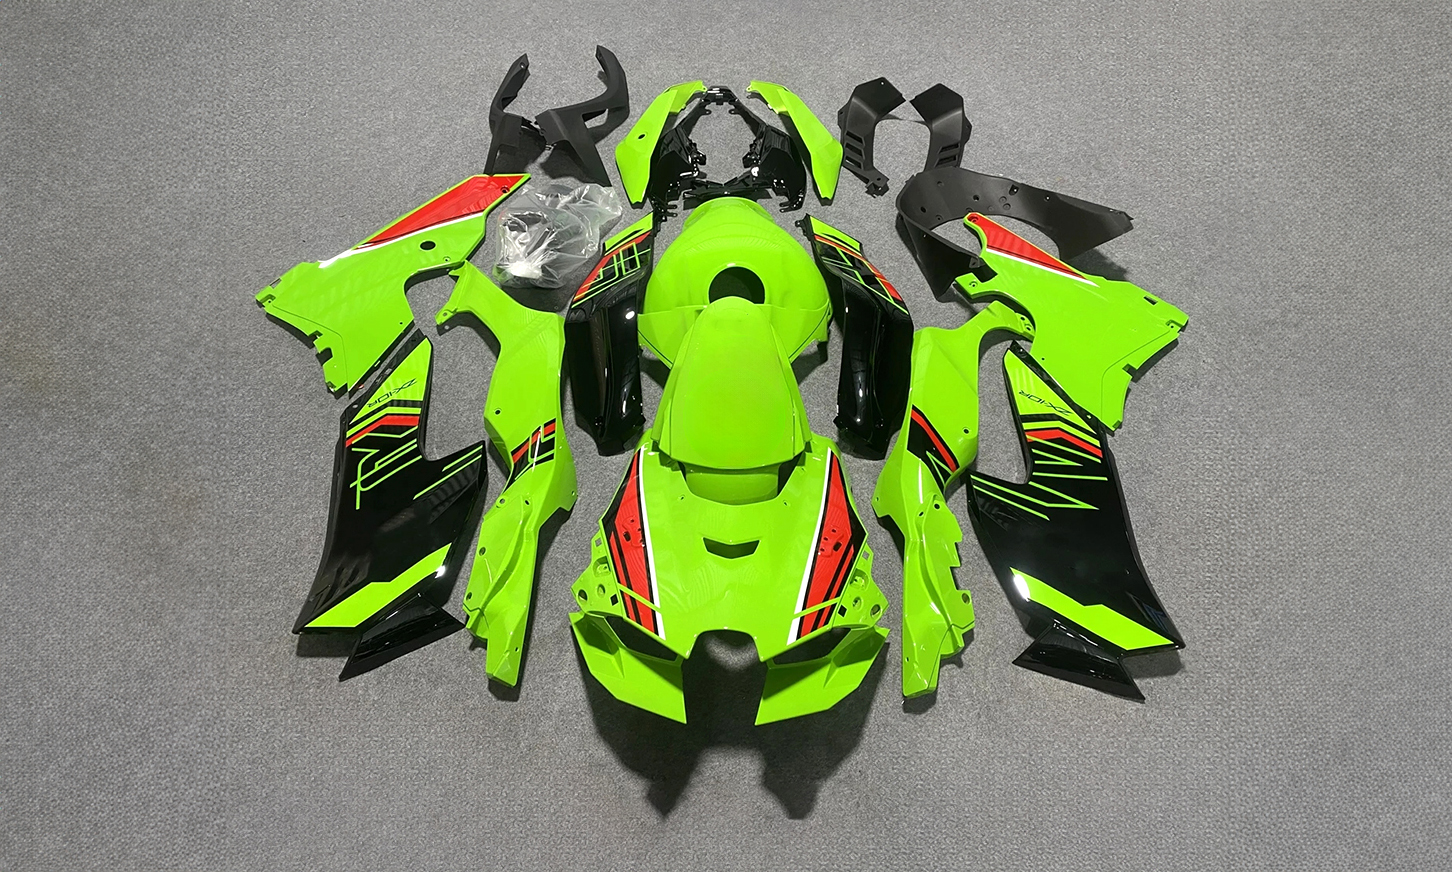
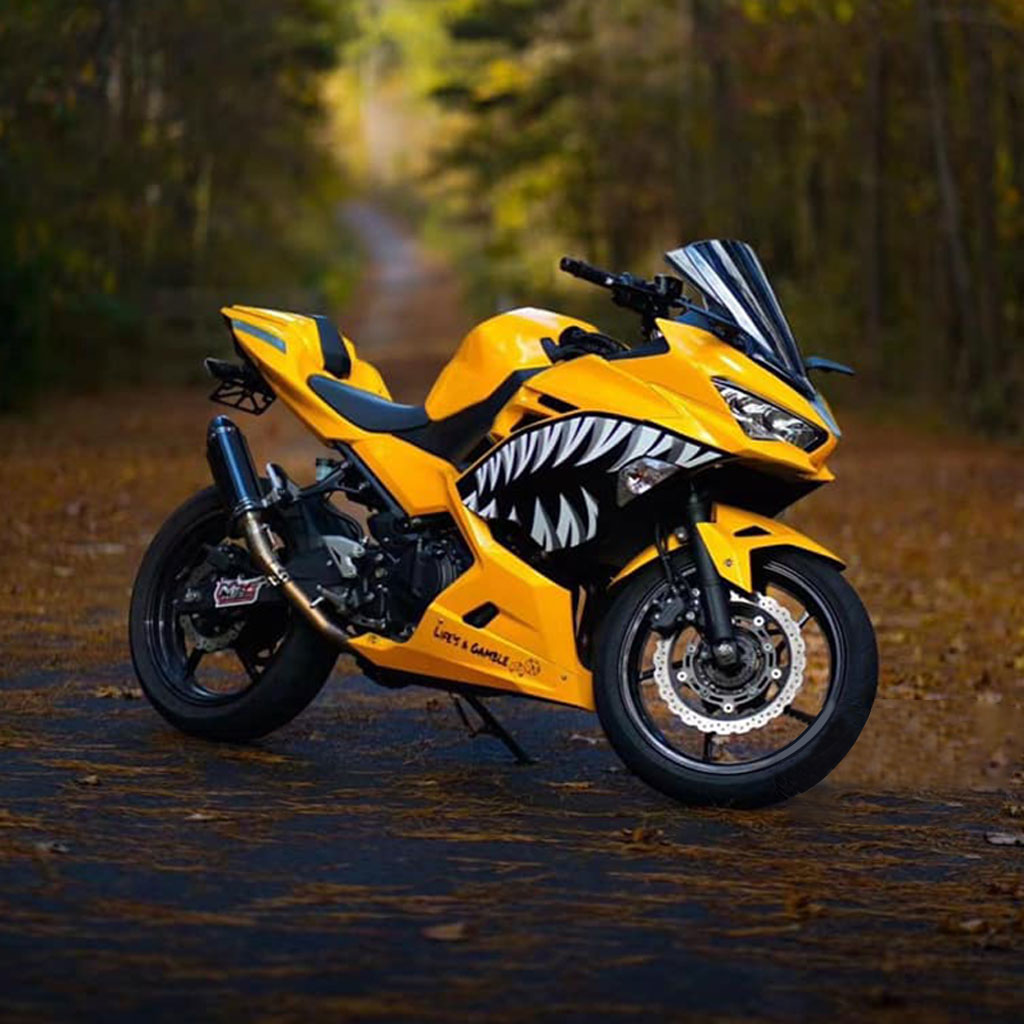
You don’t need to be an expert to start your own diy custom motorcycle fairing project. Anyone can craft a motorcycle fairing kit that shows off your style and fits your motorcycle perfectly. With a bit of creativity, you can design fairings that stand out and match your budget. Custom fairing projects let you pick the look and feel you want. Dive into the diy process, enjoy the hands-on work, and see how fairing upgrades can transform your ride without high cost. Nicefairings can help if you get stuck.
Tip: Start small. Even a single fairing swap can make your motorcycle look fresh.
Key Takeaways
Begin your custom fairing project by picking your style. Set clear goals for how it should work and look. Measure your bike with care. Plan your design to make sure it fits well. This helps your bike work better. Draw your fairing design or use CAD software. Check if both sides look the same and are balanced. Pick the best materials for your budget and needs. You can use fiberglass, ABS plastic, or carbon fiber. Build your fairings with care. Paint and install them carefully. Take care of your fairings often. This keeps them looking good and lasting longer.
Vision and Inspiration
Define Your Style
Before you start building your diy custom motorcycle fairing, you need a clear vision. Think about what makes you excited to ride. Do you love the look of classic bikes, or do you want something bold and modern? Your style sets the tone for your entire motorcycle fairing project. Many riders find inspiration in classic styles like Bobbers, Choppers, Trackers, and Cafe Racers. These styles each have their own vibe and history. You can also get ideas from online communities and social media. Sites like BikeExif, Pinterest, and Instagram are full of custom fairings, unique paint jobs, and creative bike fairing designs.
Tip: Save photos or sketches that catch your eye. Create a mood board to help you focus your design.
Some of the most inspiring motorcycle fairing kits come from shops and builders who push boundaries. Klock Werks, for example, works closely with riders to create custom fairings that blend performance and style. Builders like Simon Dabadie and JSK Moto Co have made one-of-a-kind fairings for bikes like the BMW R nineT, showing that you can mix tradition with innovation.
Set Functional Goals
Now, think about what you want your motorcycle fairing to do. Do you want better wind protection, or do you care more about a lightweight build for speed? Your goals will shape your diy project and help you choose the right materials and features. Here are some common goals for custom fairings:
Protect vital parts and keep you safe at high speeds.
Improve airflow and boost performance.
Make sure your fairings last and fit perfectly.
Keep the cost and budget in check without losing style.
Make assembly easy with pre-drilled kits and bolt-on parts.
Add custom colors, decals, or graphics for a personal touch.
Motorcycle fairings can change how your bike looks and feels. Full fairings on sportbikes help with aerodynamics and stability. Quarter fairings on cruisers keep things simple and classic. Advances in materials like carbon fiber and ABS plastic let you balance cost, weight, and performance. No matter your budget, you can find a motorcycle fairing kit that matches your vision and needs.
Design the Motorcycle Fairing
Measure and Plan
You want your motorcycle fairing to fit like a glove. Start by measuring every part of your bike where the fairing will attach. Use a tape measure for basic shapes, but if you want super accuracy, try a 3D scanner. Even a tiny mistake can make your fairings loose or crooked. A perfect fit means your custom fairings will look sharp and boost your bike’s performance. When you measure carefully, you help your fairing reduce air drag, improve fuel efficiency, and keep you safe on the road.
Tip: Double-check your measurements before you start cutting or shaping anything. This step saves you time and money later.
Planning is just as important as measuring. Think about how your fairing will work with the rest of your motorcycle. Make sure you leave space for the handlebars, dashboard, and any other parts that move. If you plan well, your fairings will not only look good but also help your bike perform better. Good planning helps you avoid problems with vibrations, noise, or safety down the line.
Sketch or CAD Design
Now it’s time to bring your ideas to life. You can start with a simple hand sketch or jump right into CAD software. Hand sketches are great for brainstorming. You can draw anywhere and let your creativity flow. This method works well if you want to try out lots of different shapes for your custom fairings. It’s fast, flexible, and doesn’t cost much.
If you want more precision, use CAD software. CAD lets you create detailed 3D models of your motorcycle fairing. You can see how everything fits together before you build anything. CAD helps you spot mistakes early and lets you test your design virtually. You can even share your files with friends or pros for feedback. The downside? CAD takes some practice and can be expensive. But if you want your fairings to be perfect, it’s worth learning.
Hand Sketches:
Quick and creative
Easy to change
Great for early ideas
CAD Software:
Super accurate
3D views and virtual testing
Easy to share and edit
Note: Many builders use both methods. Start with sketches, then switch to CAD for the final design.
No matter which method you choose, always check for symmetry. Your motorcycle fairing should look balanced from every angle. Use a ruler or the mirror tool in CAD to make sure both sides match. Symmetry makes your custom fairings look professional and helps with performance.
Consider Aerodynamics
Aerodynamics play a huge role in how your motorcycle feels and performs. When you design the motorcycle fairing, think about how air will flow over and around your bike. A well-shaped fairing cuts through the wind, reduces drag, and helps you go faster with less effort. You’ll notice better fuel efficiency and a smoother ride.
A good fairing design also protects you from wind, rain, and flying debris. Some fairings even add downforce, which keeps your front wheel planted and improves handling at high speeds. If you ride long distances, you’ll feel less tired because the fairing shields you from strong winds.
Full fairings give you the most wind protection and boost top speed.
Quarter fairings keep things light and simple but still help with comfort.
Adding features like winglets can improve stability and control.
Callout: If you want to push your bike’s performance, focus on the shape and placement of your fairing. Small changes can make a big difference.
When you design the motorcycle fairing from scratch, always balance looks with function. A fairing that looks cool but doesn’t help with aerodynamics or rider comfort won’t give you the best results. Test your ideas with virtual models or cardboard mockups before making the final version. This way, you can tweak your design for the best mix of style and performance.
Materials for Motorcycle Fairings

Picking the right material for your motorcycle fairing is important. It changes how your bike looks and works. Each material has good and bad points. Here’s a quick guide to the most common choices:
Material | Key Characteristics | Market Position / Demand |
|---|---|---|
ABS Plastic | Strong, flexible, durable, cost-effective | Most widely used; popular for OEM and aftermarket fairings; demand expected to remain strong |
Fiberglass | Lightweight, robust, good strength-to-weight ratio | Common in custom and aftermarket fairings; demand growing due to customization trends |
Carbon Fiber | Exceptional strength, lightweight, aerodynamic | Premium material for high-performance motorcycles; demand growing despite higher cost |
Others (Aluminum, Polycarbonate) | Lightweight strength, impact resistance | Used in specific applications; moderate growth expected due to unique properties and advanced material use |
Fiberglass and Composites
Fiberglass is a top pick for custom motorcycle fairing projects. It is light, strong, and bends without breaking. You can shape and fix fiberglass fairings easily. Many riders like fiberglass because you can make almost any style. To make a fiberglass motorcycle fairing, you need resin, fiberglass cloth, and a mold. This way, you can build fairings that fit your bike just right.
Fiberglass motorcycle fairing benefits:
Light and strong
Simple to change or fix
Handles bumps well
Good for DIY projects
Keeps heat away
But fiberglass does not do well in very harsh weather. It may need more care over time. Composites like carbon fiber and Kevlar are even stronger and last longer, but they cost more. You will use resin many times, from building up the layers to sealing the fairing.
Tip: New materials like Aviofiber make fiberglass even lighter and stronger. This helps fairings do more than before.
ABS Plastic and Polycarbonate
ABS plastic is the most used material for motorcycle fairings. It is tough, bends without breaking, and does not cost much. Most factory bikes and many kits use ABS fairings. Polycarbonate is another choice. It is almost impossible to break and stands up to sun, dust, and rain. Polycarbonate costs more but lasts longer outside.
ABS Plastic | Polycarbonate | |
|---|---|---|
Impact Resistance | High; tough and less prone to cracks | Extremely high; almost indestructible |
Durability | Long life, but can fade in sun | Very durable, resists sun and weather |
Cost | Budget-friendly | More expensive |
ABS plastic fairings are great for daily rides. Pick polycarbonate if you want extra strength and sun protection.
Carbon Fiber Options
Carbon fiber is the best for high-performance motorcycle fairing kits. These fairings can be up to 60% lighter than plastic. This makes your bike easier to handle and faster. Carbon fiber fairings use resin to hold the fibers together and make a hard shell. They stand up to heat and chemicals, so they work well for racing or custom bikes.
Carbon Fiber Benefit | Plastic (ABS) Benefit/Trade-off | |
|---|---|---|
Weight | Up to 60% lighter, improves agility | Heavier, less impact on handling |
Strength & Durability | Extremely strong, but can crack under sharp impacts | More flexible, easier to replace |
Heat Resistance | Highly resistant | Can warp with heat |
Aesthetic Appeal | Glossy, premium look | Can be painted, but lacks carbon fiber style |
Cost | 2-5x more expensive | More budget-friendly |
Carbon fiber costs more, but you get the best look and performance. Resin is important for making these fairings strong and smooth.
Prototyping and Molds
Cardboard and Plastic Templates
You want your fairings to fit just right, so start with a simple pattern. Grab some cardboard or thin plastic sheets and trace the shape you want for your fairing. Cut out the pattern and hold it up to your bike. This step helps you see if the size and shape look good before you move on. If something feels off, you can trim or adjust the template until it matches your vision. Many builders use this method because it’s cheap and easy to change. You can even tape the pattern together to check how the fairings will look from every angle.
Tip: Use a marker to label each piece of your prototype. This makes it easier to remember where everything goes.
Creating the Mold
Once you have a pattern you like, it’s time to create the fiberglass fairing. Start by building a prototype using clay, foam, or even wood. Shape the prototype until it matches your template. Next, brush on a layer of silicone to make a flexible mold. Silicone molds work well for fairings with curves and details. Add a mother mold made from plaster or fiberglass to support the silicone. Always use a mold release agent so the resin does not stick. When you pour or brush resin into the mold, it forms the final fairing shape. You can use fiberglass or carbon fiber with resin for strength and a smooth finish. This process lets you make custom fairings that fit your bike perfectly.
3D Printing Tools
3D printing has changed how you prototype motorcycle fairings. You can design your fairing on a computer and print a model in just a few hours. This method is fast and lets you test different shapes without wasting materials. 3D printing works well for complex fairings that would be hard to shape by hand. You can also use 3D printed parts as a base for your mold. Here’s a quick look at how 3D printing helps:
Benefit | What It Means for You |
|---|---|
Test new fairing shapes quickly | |
Customization | Make unique fairings for your bike |
High Precision | Get smooth, detailed prototypes |
Cost Efficiency | Save money on small runs |
You can combine 3D printed prototypes with fiberglass and resin to create strong, lightweight fairings. This mix of old and new methods gives you more control over your project and helps you get the best results.
Fabrication and Finishing
Building the Motorcycle Fairing Kit
You have your mold ready and your materials on hand. Now, you get to build your motorcycle fairing kit. This part feels like magic because you watch your idea turn into something real. Here’s how you do it:
Cut the fiberglass cloth to fit your mold. Make sure you have enough pieces to cover the whole shape.
Mix the resin and hardener. Follow the instructions on the package so the resin cures right.
Lay the first piece of fiberglass cloth on the mold. Use a brush to soak it with resin. Press out any air bubbles with a roller or your gloved hands.
Add more layers of cloth and resin. Each layer makes your fairing kit stronger. Keep going until you reach the thickness you want.
Let the resin cure. This can take up to 24 hours. Don’t rush this step—your fairings need to be solid.
Once the fairing is hard, gently remove it from the mold. Trim the edges and sand the surface until it feels smooth.
Drill the mounting holes where you will attach the fairing to your motorcycle.
Tip: Always wear gloves and a mask when working with resin and fiberglass. Good ventilation keeps you safe.
You can use these steps for a fiberglass motorcycle fairing or even for carbon fiber. The process is almost the same. If you want your custom fairings to look perfect, take your time with each layer and make sure everything lines up.
Painting and Graphics
Now comes the fun part—paint! You get to choose the colors and graphics that show off your style. A great paint job makes your motorcycle fairing kit stand out. Here’s a step-by-step guide to help you get a pro finish:
Set up your workspace. Make sure it’s well-ventilated and cover the floor with drop cloths.
Clean the fairings with soap and water. Dry them with a soft cloth.
Sand the surface with 400 grit sandpaper. This helps the paint stick better.
Wipe away dust and apply a plastic-friendly primer. Let it dry completely.
Spray light coats of paint. Let each coat dry before adding the next. You’ll need several coats for a deep, even color.
After the paint dries, spray on a clear coat. This protects your fairings and makes them shine.
Wet sand the clear coat with 1500-2000 grit sandpaper. Buff and polish the surface for a glossy finish.
If you want graphics or decals, wait until the paint is fully dry. Carefully place your graphics and smooth out any bubbles.
Note: Always use a mask and gloves when you paint. High-quality paint sprayers give you a smooth, even finish.
A good paint job takes patience. Don’t rush the drying times. If you want your custom fairings to look amazing, let each layer of paint cure before moving on. You can use tape to create sharp lines or stencils for cool designs. If you want something really special, ask a pro for help or check out Nicefairings for inspiration.
Installation and Adjustment
You’ve built and painted your fairings. Now, you need to attach the fairing to your motorcycle. This step matters for both looks and safety. Here’s what you should do:
Line up the fairings with your bike. Make sure all the mounting holes match.
Use the right bolts and brackets to attach the fairing. Tighten everything, but don’t overdo it.
Check that the fairings sit evenly on both sides. Symmetry helps with airflow and makes your bike look sharp.
After you attach the fairing, test the handlebars and controls. Make sure nothing rubs or gets stuck.
Take your bike for a short ride. Listen for rattles or vibrations. If you hear anything odd, stop and check the bolts.
Callout: Loose or crooked fairings can mess up your ride. They cause drag, make steering harder, and can even fall off. Always double-check your work.
If you ever feel unsure, ask for help from a friend or a pro. Some riders use kits like the Klock Werks FXRP Style Fairing Fit Kit to make sure their fairings stay put. You want your motorcycle fairing kit to look good and keep you safe.
Maintenance Tips
You want your custom fairings to last a long time. Good care keeps them looking fresh and working right. Here’s how you do it:
Wash your fairings with a soft microfiber cloth and mild soap. Stay away from harsh cleaners that can scratch the paint.
Rinse with clean water and dry with a soft towel. This stops water spots from forming.
Use UV protectant sprays to keep the paint from fading in the sun. Water repellents help block moisture.
If you see dirt or bugs, clean them off right away. Don’t let grime build up.
Check the bolts and brackets often. Make sure you attach the fairing tightly every time.
Fix small chips or cracks as soon as you spot them. If you need help, talk to a pro or reach out to Nicefairings.
Park your bike in the shade or use a cover. This protects the paint and keeps your fairings looking new.
Tip: For extra shine and protection, try a ceramic coating. It helps your fairings resist dirt, rain, and sun.
If you use the right tools, like soft brushes and low-pressure water, you can clean every part without damage. Always handle your fairings with care. The better you treat them, the longer they’ll last.
If you ever get stuck or want to upgrade your skills, check out online forums or talk to experts. Nicefairings offers advice, materials, and even professional help for any stage of your project. You’re never alone when building your dream motorcycle fairing kit.
Making your own motorcycle fairing kit needs time and creativity. You will try different things to see what works best. You can pick the materials you like and test out new ideas. This lets you make your bike special and just for you. Custom fairings help you feel more comfortable and keep your bike safe. They can also make your bike worth more if you sell it. If you need help or want ideas, Nicefairings has support and kits you can use right away. Start your project now and have fun—your own style is ready for you!
FAQ
How long does it take to build a custom motorcycle fairing kit?
You can finish a simple kit in a weekend. If you want more details or custom paint, you might need a week or two. Take your time and enjoy the process!
Can I design fairings without any experience?
Yes! You do not need to be an expert. Start with simple sketches or templates. Many riders learn as they go. Online guides and videos help a lot.
What tools do I need for making fairings?
You need basic tools like scissors, a drill, sandpaper, and a paintbrush. For advanced work, try a Dremel, a heat gun, or even a 3D printer.
How do I keep my fairings looking new?
Wash your fairings with mild soap and water. Dry them with a soft towel. Use UV spray to protect the paint. Check for loose bolts often.
Where can I get help if I get stuck?
You can ask questions on motorcycle forums or watch YouTube tutorials. Nicefairings also offers advice, kits, and support for every step of your project.
See Also
Steps To Craft Motorcycle Fairings With Distinct Style
Guide To Making Personalized Motorcycle Fairings Yourself
Nicefairings Offers Custom Fairings For Distinctive Looks

