How to Clean Motorcycle Fairings Like a Pro


Keeping your motorcycle fairings clean is not just for looks; it’s essential for protecting your bike from damage. Dirt and grime can scratch the paint or harm the fairings. Learning how to clean motorcycle fairings like a pro will make your bike shine all over, including the paint and even the engine. Want to know how to clean motorcycle fairings properly? This guide will show you how to keep your bike spotless and in great condition.
Key Takeaways
Get the right tools and cleaners before starting. Use a soft sponge, soap made for motorcycles, and skip strong chemicals to keep your fairings safe.
Wash your motorcycle in parts for a spotless look. Work on one section at a time and rinse right away so the soap doesn’t dry.
Make cleaning a habit. Wash your fairings every two weeks and check for any damage to keep your motorcycle looking great and lasting longer.
Preparing for Cleaning
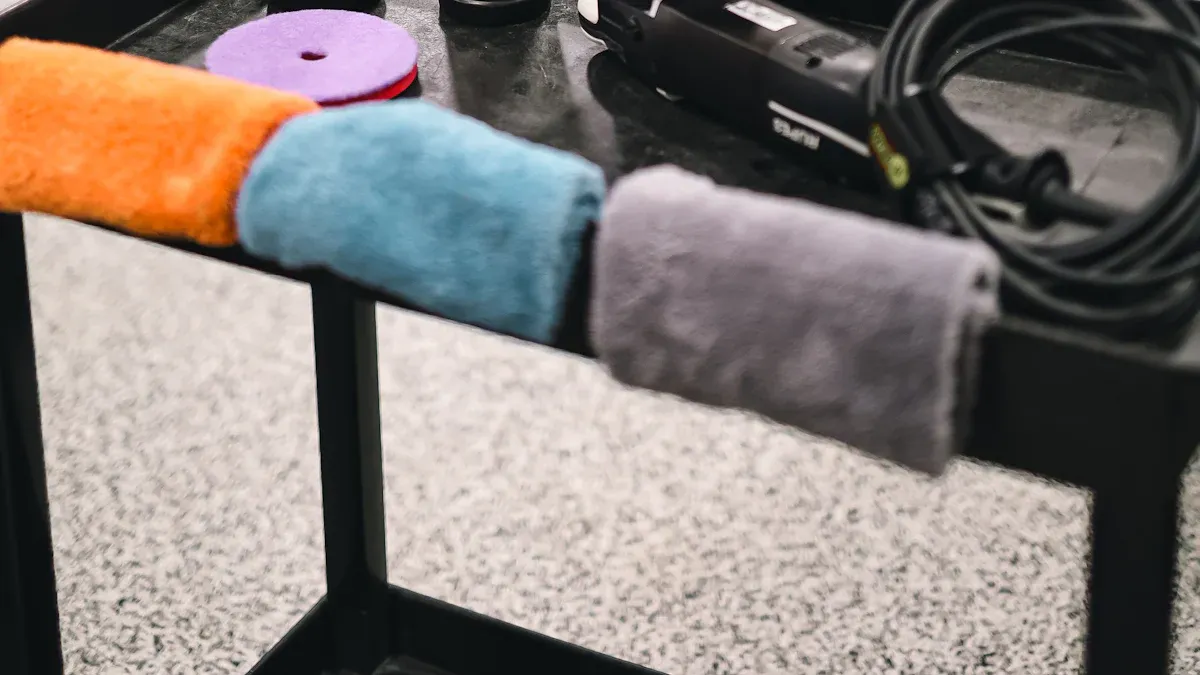
Tools and Products You’ll Need to Clean Fairings
Before cleaning, gather all the tools and supplies you need. This saves time and helps avoid damaging your motorcycle. You’ll need a sponge, soft brush, and soap made for motorcycles. These are gentle on fairings and clean dirt well. Don’t use strong chemicals or rough materials—they can scratch the surface.
For an easier job, try using a motorcycle cleaning kit. These kits usually have everything, like cleaners and polish, in one set. Having all your supplies ready makes cleaning faster and less stressful.
Picking the Right Place to Clean Your Bike
Find a quiet spot to clean your motorcycle without interruptions. A shaded area works best because sunlight dries soap and water too fast, leaving streaks. Make sure the ground is flat and steady so your bike won’t fall over.
Let your motorcycle cool down first. Cleaning a hot bike can cause damage if soap or water touches hot parts. Keep your cleaning tools nearby to avoid moving around too much. This makes the process easier and quicker.
Keeping Delicate Parts Safe While Cleaning
Motorcycles have fragile parts that need extra care when cleaning. Follow these tips to protect them:
Don’t use pressure washers. They can push water into seals and bearings, damaging parts.
Turn off the bike and cover areas like the ignition and battery. Water and electricity don’t mix, so this step is important.
Use special cleaners for electrical parts. This stops rust and keeps electronics working well.
By taking these steps, your motorcycle stays safe during cleaning. With everything ready, you can clean the fairings without any worries.
Pre-Cleaning Steps
Removing Loose Dirt and Debris
Before diving into the actual cleaning, start by getting rid of loose dirt and debris. This step makes the rest of the process much easier and prevents scratches during scrubbing. Use a soft-bristled brush or a microfiber cloth to gently wipe away dust and dirt from the fairings. Pay extra attention to crevices and edges where grime tends to collect.
If your bike has been on a muddy adventure, you might find dried dirt clinging to the surface. In this case, a quick sweep with a dry cloth or brush can loosen it up. Remember, the goal here is to make dirt removal as thorough as possible without damaging the fairings.
Tip: Avoid using your hands to wipe off dirt. It can push grit into the surface and cause scratches.
Inspecting Fairings for Scratches or Damage
Once the loose dirt is gone, take a moment to inspect the fairings. Look closely for any scratches, cracks, or other damage. This step is important because cleaning over damaged areas without care can make things worse.
If you spot any deep scratches or cracks, consider marking them with a small piece of tape. This will remind you to handle those spots gently during the cleaning process. Identifying damage early also helps you decide if repairs are needed later.
Pre-Rinsing to Loosen Stubborn Dirt
Now it’s time to pre-rinse the fairings. Use a gentle stream of water to soak the surface and loosen any stubborn dirt that didn’t come off earlier. A garden hose works perfectly for this step. Start from the top of the bike and let the water flow downward. This ensures dirt washes away instead of spreading around.
Avoid using high-pressure water, as it can damage delicate parts or force water into unwanted areas. A light rinse is all you need to prepare the fairings for a deeper clean.
Note: Pre-rinsing not only helps with dirt removal but also reduces the risk of scratches during scrubbing.
How to Clean Motorcycle Fairings
Choosing the Right Cleaner and Cleaning Techniques
When it comes to cleaning your motorcycle fairings, picking the right cleaner is crucial. Not all cleaning products are safe for your bike’s surface. You’ll want to use a cleaner specifically designed for motorcycles or one labeled as safe for plastic and painted surfaces. Avoid harsh chemicals like bleach or ammonia—they can damage the finish and leave your fairings looking dull.
For the best results, mix the cleaner with water according to the instructions on the bottle. Use a soft sponge or microfiber cloth to apply the solution. These materials are gentle and won’t scratch the surface. If you’re dealing with stubborn grime, a soft-bristled brush can help lift the dirt without causing damage.
Tip: Always test a new cleaner on a small, hidden area of the fairing first. This ensures it won’t harm the surface.
By choosing the right products and tools, you’ll make the cleaning process easier and safer for your bike. It’s one of the best ways to clean your motorcycle without risking damage.
Cleaning in Sections for a Streak-Free Finish
Cleaning your motorcycle fairings in sections is the secret to achieving a streak-free finish. Instead of tackling the entire bike at once, focus on one area at a time. Start with the top of the fairings and work your way down. This method prevents dirty water from dripping onto areas you’ve already cleaned.
Apply the cleaning solution to a small section and gently scrub in circular motions. This technique lifts dirt effectively and avoids streaks. Once you’ve cleaned a section, rinse it immediately with clean water. Don’t let the soap dry on the surface—it can leave marks that are hard to remove later.
Pro Tip: Use two buckets—one for soapy water and one for rinsing your sponge or cloth. This keeps dirt from spreading back onto the fairings.
Working in sections not only gives you better results but also makes the process more manageable. It’s one of the best ways to clean your motorcycle while ensuring every part looks spotless.
Rinsing and Checking for Missed Spots
After cleaning all the sections, it’s time to give your motorcycle fairings a final rinse. Use a gentle stream of water to wash away any remaining soap or dirt. Start from the top and let the water flow downward. This ensures a thorough rinse without spreading dirt around.
Once the fairings are rinsed, take a moment to inspect them. Look for any spots you might have missed during cleaning. If you find any, go back with your sponge or cloth and clean those areas. A quick touch-up can make a big difference in the overall appearance of your bike.
Note: Avoid using high-pressure water for rinsing. It can damage delicate parts or force water into areas where it doesn’t belong.
By rinsing carefully and checking for missed spots, you’ll ensure your fairings look flawless. Knowing how to clean motorcycle fairings properly means paying attention to these small details.
Post-Cleaning Care
Drying Fairings Thoroughly to Prevent Water Spots
Once you’ve rinsed your motorcycle, drying it properly is key. Leaving water droplets on the fairings can lead to unsightly water spots. Grab a clean microfiber towel and gently pat the surface dry. Microfiber works best because it absorbs water quickly and won’t scratch the paint.
If you want to speed things up, use a motorcycle dryer or a leaf blower on a low setting. This helps remove water from tight spaces like crevices and edges. Don’t skip this step—moisture left behind can cause streaks or even rust over time.
Tip: Avoid air-drying your bike in the sun. It can cause water spots to form before you get a chance to wipe them off.
Applying Wax or Polish for Protection and Shine
After drying, it’s time to give your fairings some extra love. Applying wax or polish not only makes your bike shine but also protects it from the elements. Use a high-quality motorcycle wax or polish designed for plastic and painted surfaces.
Here’s why waxing is worth it:
It creates a barrier against moisture and salt, preventing rust and corrosion.
It protects the paint from UV rays, keeping it from fading or chipping.
Silicone-based formulas restore color and leave a long-lasting shine.
Apply the wax in small sections using a soft applicator pad. Buff it out with a clean microfiber cloth for a smooth, glossy finish. You’ll notice your bike looks refreshed and ready to hit the road.
Final Inspection and Reassembly
Before calling it a day, take a moment to inspect your work. Check the fairings for any missed spots, streaks, or leftover wax residue. If you find anything, touch it up with a clean cloth.
Now, remove any protective covers you placed on sensitive parts earlier. Reattach any components you removed, like mirrors or panels. Make sure everything is secure and in its proper place.
Pro Tip: A final walk-around ensures your bike is spotless and ready to ride. It’s the perfect way to admire your hard work!
Maintenance Tips for Motorcycle Fairings
Establishing a Regular Cleaning Routine
Keeping your motorcycle fairings in top shape starts with a regular cleaning routine. It’s not just about looks—it’s about protecting your bike from long-term damage. Here’s how you can make it a habit:
Clean Regularly: Use a soft cloth or sponge with mild soap and warm water to wipe away dirt and grime.
Wax the Fairings: Apply a high-quality wax to shield the surface from UV rays and make future cleaning easier.
Check for Cracks and Damage: Inspect your fairings often to catch any issues early before they get worse.
By sticking to this routine, you’ll keep your bike looking sharp and running smoothly. Plus, it saves you from costly repairs down the road.
Proper Storage to Prevent Dirt and Damage
Where you store your motorcycle matters more than you think. A good storage setup protects your fairings from dirt, moisture, and even harsh weather. Follow these tips to keep your bike safe:
Use a breathable motorcycle cover to block dust while allowing air to circulate. This prevents condensation that can lead to rust.
Store your bike in a dry, secure location. Moisture can cause corrosion, while a safe spot keeps it free from accidental bumps or scratches.
Invest in a high-quality cover to shield your bike from rain, UV rays, and other elements if you store it outdoors.
Proper storage isn’t just about cleanliness—it’s about extending the life of your motorcycle.
Addressing Dirt and Grime Immediately
Don’t wait to clean off dirt and grime. The longer it sits, the harder it is to remove. Plus, it can damage your fairings over time. After a ride, take a few minutes to wipe down your bike with a microfiber cloth. Focus on areas where dirt tends to build up, like the edges and crevices.
If you spot mud or grease, clean it off as soon as possible with a mild cleaner. Quick action prevents stains and keeps your bike looking its best. Think of it as a small effort that makes a big difference in the long run.
Tip: Keep a small cleaning kit handy for quick touch-ups after rides. It’s a simple way to stay ahead of dirt and grime!
Cleaning your motorcycle fairings like a pro doesn’t have to be complicated. Follow the steps in this guide, and you’ll keep your bike looking sharp and protected. Regular cleaning not only extends the life of your fairings but also makes your rides more enjoyable. So, grab your tools and start today—you’ll love the results!
FAQ
How often should you clean your motorcycle fairings?
You should clean your fairings every two weeks or after a muddy ride. Regular cleaning keeps your bike looking sharp and prevents long-term damage.
Can you use household cleaners on motorcycle fairings?
Avoid household cleaners like dish soap or glass cleaner. They can strip wax or damage paint. Use motorcycle-specific products for safe and effective cleaning.
What’s the best way to dry your motorcycle after cleaning?
Use a microfiber towel or a low-setting leaf blower. These methods prevent water spots and ensure no moisture remains in tight spaces.
Tip: Keep a microfiber cloth handy for quick touch-ups after rides. It’s a simple way to maintain your bike’s shine!
See Also
Tips For Keeping Your Motorcycle Fairings Clean And Maintained
Ways To Safeguard Your Motorcycle Fairings From Daily Wear
Five Pro Tips To Save On Motorcycle Fairings Replacement
