How to Create Custom Motorcycle Fairings at Home

Custom motorcycle fairings aren’t just for looks—they help performance too. They make bikes more aerodynamic, cut wind resistance, and save fuel. Fairings also let you design your bike to look unique. Did you know fairings are becoming more popular worldwide? By 2032, the market may reach USD 18.5 billion. Lightweight materials like fiberglass and carbon fiber are in high demand. These materials make fairings stronger and lower carbon emissions. Whether you want better speed control or cool designs, making fairings at home is a fun way to customize your bike.
Key Takeaways
Custom motorcycle fairings make bikes look better and work well. They help with airflow, cut wind drag, and allow cool designs.
First, check what your motorcycle needs. Decide if you want better looks, speed, or comfort before making your fairings.
Pick the right materials for your fairings. Newbies can use ABS plastic because it’s easy to handle. Experts might try fiberglass or carbon fiber for harder projects.
Build a model using foam or cardboard. This shows your design and makes sure it fits your bike before making the final fairing.
Finish your fairing by sanding, priming, and painting it. A smooth surface and good primer make it look professional and last longer.
Planning Your Custom Motorcycle Fairings
Assessing Your Motorcycle's Design Needs
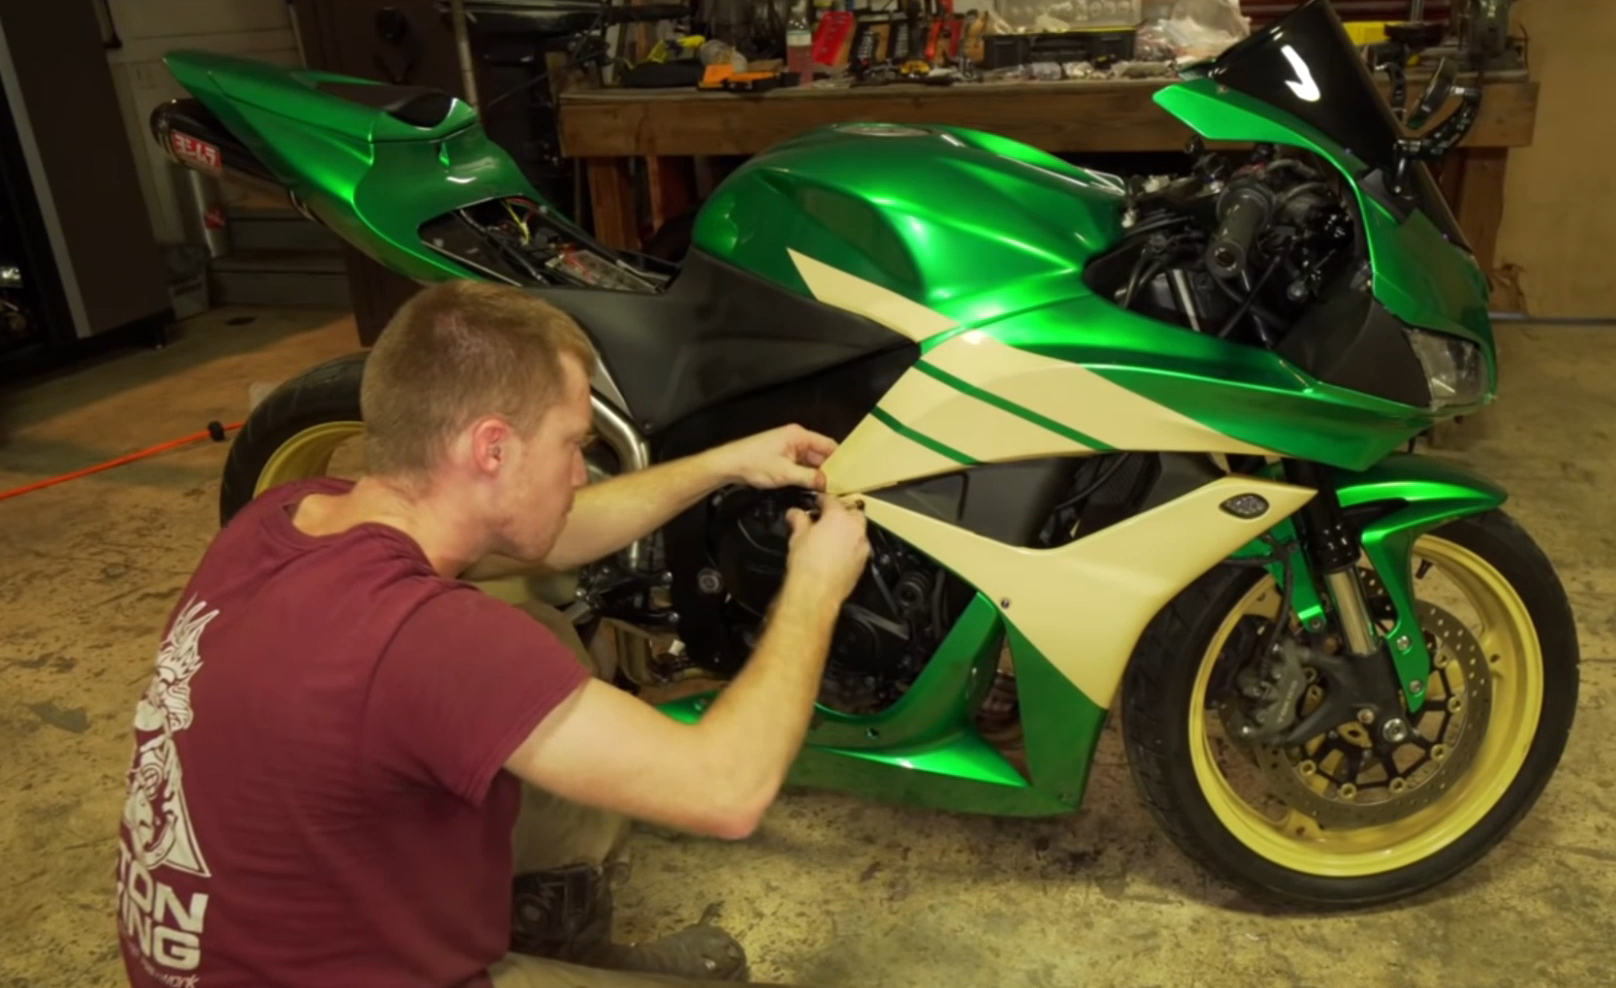
Before starting your custom motorcycle fairings, study your bike carefully. What is your goal? Do you want better speed, a cooler look, or more comfort? First, check your bike and imagine how you want it to look.
Here are some things to think about:
Decide your goals. Are you improving performance, looks, or both?
Check your bike’s age and condition. Older bikes may need extra changes for new fairings.
Look at your bike’s current design. This helps you see what needs fixing or upgrading.
By knowing your bike’s needs, you can plan fairings that match your ideas.
Sketching and Choosing a Style
After understanding your bike, it’s time to design. Use paper and pencil or design software to draw your ideas. Don’t worry if your sketches aren’t perfect; they just help you picture your plan.
Think about the style you like. Do you want a sporty, bold look or a simple, classic one? Search online for ideas or check designs from pro racers. If you’re good with tech, try CAD software. It lets you make 3D designs, so you can spot problems before building.
Selecting Materials for DIY Custom Motorcycle Fairings
Picking the right materials is very important. The material affects how strong, light, and useful your fairing will be. Here’s a quick guide to popular materials:
Material | Properties |
|---|---|
ABS plastic | Strong, flexible, light, scratch-resistant, protects from debris. |
Fiberglass | Durable, light, repairable, often used for racing. |
Carbon fiber | Lightest, costly, mainly for sport bikes and racers. |
If you’re new, ABS plastic is a good choice. It’s easy to use and strong. For experts, fiberglass or carbon fiber gives a pro look but needs more skill and tools.
Choosing the right material makes your diy custom motorcycle fairing both useful and stylish.
Making a Model for Your Fairing
Using Foam or Cardboard for a Template
The first step to create your fairing is making a model. Foam and cardboard are easy to shape and adjust, so they’re great for this. Start by cutting and putting these materials together to match your design.
Here are some tips to help you begin:
Sanding Techniques: Smooth foam with sandpaper like 40 or 60 grit.
Cutting Tools: Use sharp knives, small saws, or hot wire cutters for clean cuts.
Gluing Options: Try foam-safe glue, strong tape, or Spraymount to hold pieces.
Take your time here. A good model makes building the final fairing easier.
Refining and Adjusting the Model
After building your template, refine its shape to fit your bike. Sand the edges and surfaces to make them smooth and neat.
Use these tools for detailed shaping:
A wood block with #36 or #40 grit sandpaper for rough shaping. Use #80 grit for finer details.
Tools like craft knives, rasps, and sureform planes for precise work.
Add resin and fiberglass in layers to make the model stronger. Overlap layers for extra durability.
Mistakes are okay! You can remove extra material or add foam to fix errors. Keep adjusting until the shape looks right.
Checking the Fit on Your Motorcycle
Your model must fit your bike perfectly. Test it often during shaping to find and fix problems early.
Here’s how different methods help ensure a good fit:
Method | Description |
|---|---|
Rigorous Testing | Honda tested models like CR250R to ensure they fit well. |
Integration of Components | Triumph combined parts to reduce weight and improve fit. |
Simulation Modeling | Advanced tools predict how designs will perform and fit. |
Testing your model on your bike is very important. It ensures the final fairing will look good and work well.
Tip: Triumph’s TE-1 model shows how combining parts can save weight and improve fit. Think about this when designing your fairing.
Building the Fairing Material
Working with Fiberglass for Custom Fairings
Fiberglass is a great material for strong, light fairings. It’s flexible, tough, and gives a polished look. Follow these steps to work with fiberglass:
Design the Motorcycle Fairing: Measure the area for the fairing. Draw your design on paper or use a computer program.
Prepare the Motorcycle Fairing Prototype: Make a model using foam or clay. Adjust it to fit your bike perfectly.
Create the Fiberglass Fairing: Cut fiberglass cloth into small pieces. Mix resin as directed, then layer it over your model. Let each layer dry before adding another.
Prime and Paint the Fairing: After the fiberglass hardens, clean and sand it. Add primer, paint, and polish for a smooth finish.
Working with fiberglass takes time, but the results are amazing. You’ll have a strong and stylish fairing that lasts long.
Pro Tip: Always wear gloves, goggles, and a mask when using fiberglass. The materials can irritate your skin and lungs.
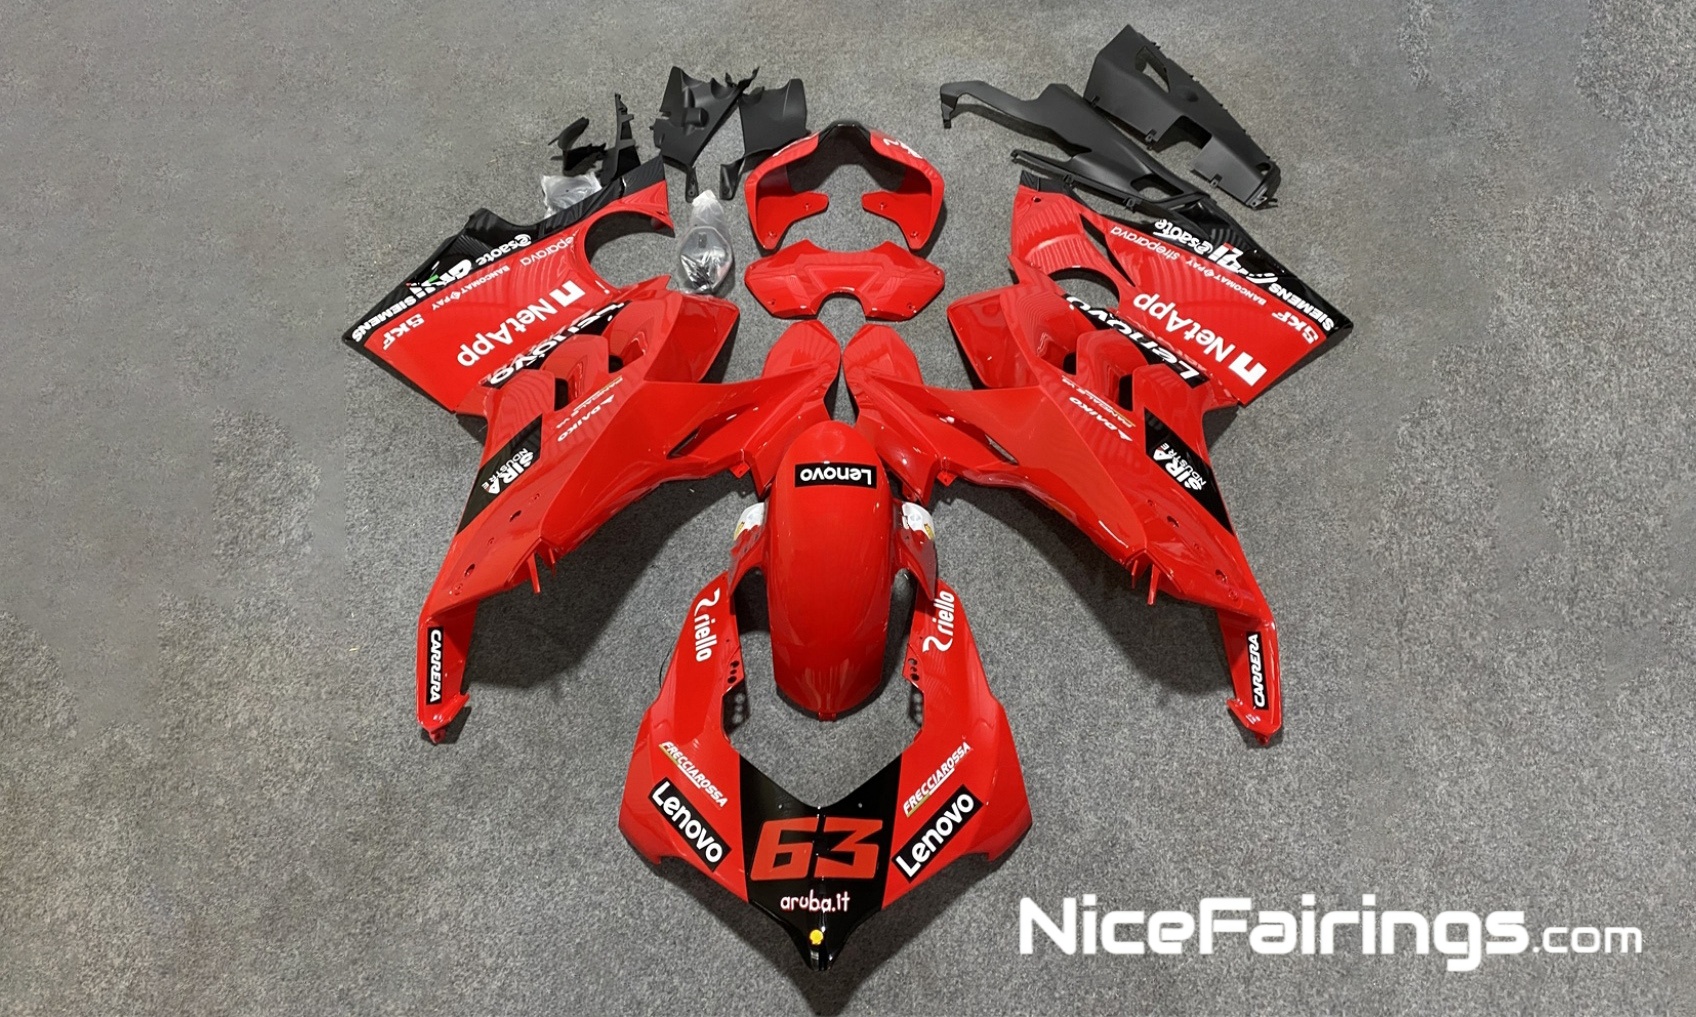
Using Plastic Sheets for Lightweight Fairings
Plastic sheets like ABS are another good choice for fairings. They’re easy to shape, strong, and great for beginners. Here’s why ABS plastic is useful:
Property | Description |
|---|---|
Strength | |
Flexibility | It bends easily, allowing creative designs. |
Weight | It’s light, improving bike performance. |
Durability | Strong and long-lasting for everyday use. |
Molding Techniques | Can be shaped using heat for custom designs. |
To use plastic sheets, heat them gently to make them soft. Shape them over your model, and they’ll harden as they cool. ABS plastic is easy to use, making it ideal for first-time builders.
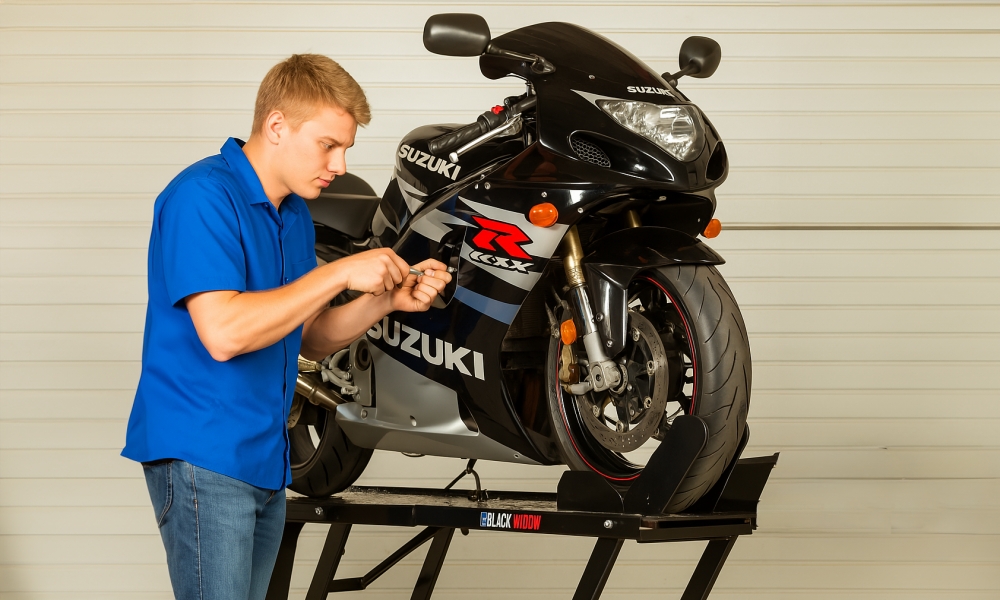
Did You Know? Nicefairings uses ABS plastic to create fairings for brands like SUZUKI, HONDA, and more.
Assembling and Shaping the Fairing Components
After making your fiberglass or plastic parts, put them together. Proper assembly makes your fairing look good and work well. Use these techniques:
Assembly Technique | Material Used | Benefits |
|---|---|---|
Joint assembly with stringers | Composite materials | |
Overlapping stringers at fixation zone | Same material as belly fairing and fuselage | Lowers vibrations and avoids structural problems. |
Align the pieces carefully to avoid gaps. Use glue or screws made for your material. After assembly, sand the edges for a smooth finish.
Tip: Test the fairing on your bike before finishing. This helps you fix any fitting issues early.
By following these steps, you’ll build a fairing that looks cool and improves your bike’s performance.
Finishing Your DIY Custom Motorcycle Fairing
Sanding and Smoothing the Surface
After putting your fairing together, smooth out its surface. Sanding helps remove bumps and gets it ready for paint. Start with rough sandpaper, like 80-grit, to fix uneven spots. Then, switch to finer grits, such as 220 or 320, for a polished finish.
Follow these steps for a smooth surface:
Use a sanding block or sander for even pressure.
Sand in small circles to avoid leaving scratches.
Wipe off dust with a damp cloth between sanding steps.
Finish with a clay bar to clean tiny particles.
Pro Tip: Take your time. A smooth surface makes the paint stick better and look great.
Priming and Painting for a Professional Finish
Primer is key for strong, bright paint. Pick a primer that works with your material. For fiberglass, a two-part urethane primer like Sherwin-Williams Finish 1 2K HS is great. If you want a spray can, try Spray Max 2K Epoxy Primer.
Feature | Sherwin-Williams Finish 1 2K HS Primer | Spray Max 2K Epoxy Primer |
|---|---|---|
Type | Two-part primer | Spray can primer |
Key Features | Sticks well, easy to sand | Rust protection, simple to use |
Drying Time | 1.5–3 hours at 70ºF; 30 min at 140ºF | 12 hours at 68ºF; 30 min at 140ºF |
Coverage | 2.0–2.5 mils dry thickness | Covers about 0.75–1 m² per can |
Once primed, paint in thin, even layers. Let each coat dry before adding another. Use a spray gun for a smooth, clean finish.
Did You Know? A good primer not only helps paint stick but also protects your fairing from damage.
Polishing and Sealing for Durability
Polishing and sealing make your fairing look shiny and last longer. Polish the surface to remove any leftover flaws. A polishing compound can give it a glossy, mirror-like finish.
To protect your work, seal it with wax or ceramic coating. This keeps your fairing looking new and strong. Here are some methods:
Polishing: Makes the surface shiny but takes effort.
Bead Blasting: Gives a smooth matte look and cleans loose bits.
CNC Machining: Adds precise details and improves strength.
Tip: Clean and check your fairing often to keep it looking great. A little care will protect your hard work.
By following these steps, you’ll create a custom motorcycle fairing that looks amazing and lasts a long time.
Cost Breakdown and Expert Tips
Estimating Costs for Materials and Tools
Making custom motorcycle fairings at home doesn’t have to cost a lot. Start by listing what you need. Here’s a simple cost guide:
Item | Estimated Cost |
|---|---|
ABS Plastic Sheets | $20–$50 per sheet |
Fiberglass Cloth & Resin | $40–$100 per kit |
Sandpaper (various grits) | $10–$20 |
Primer and Paint | $30–$70 |
Basic Tools (knives, glue, etc.) | $50–$100 |
If you already own tools, your expenses will be lower. Beginners should try ABS plastic. It’s cheap and easy to use, making it great for first-time projects.
Tip: Look for deals at local stores or online. Buying in bulk can save money too.
Budget-Friendly Alternatives for DIY Projects
Want to spend less? Try these smart, low-cost ideas:
Shape foam blocks into fairings quickly, often in one day.
Cover only key areas with lightweight cloth to use less material.
Use heat shrink Dacron for easy covering and less finishing work.
Remove foam after shaping to make a strong frame and save materials.
DIY projects like this save money and teach useful skills. You’ll learn how to fix and care for your fairings, avoiding big repair costs later.
Did You Know? Mixing methods like lost foam and geodesic designs can make strong fairings while keeping costs low.
Tips for Achieving Professional Results at Home
Want your fairings to look like they’re professionally made? Follow these tips:
Fix common mistakes early, like uneven sanding or bad alignment.
Work at a steady pace. Rushing can lead to errors.
Check your tools and materials often. Good tools make the job easier.
Focus on quality. Double-check every step to avoid problems later.
Paying attention to details helps you make fairings that look great and work well.
Pro Tip: After finishing a project, review your process. This helps you improve for next time.
Making your own motorcycle fairings is more than a task. It’s a way to make your bike special and personal. You can save money, gain new skills, and feel proud of creating something unique. By following this guide, you can make fairings that look professional. You just need time, good materials, and some creativity.
Why not start now? Begin your DIY project today and turn your motorcycle into something amazing with custom fairings. You can do it!
FAQ
How long does it take to make custom motorcycle fairings at home?
It depends on your experience and the complexity of your design. For beginners, it might take a week or two, working a few hours daily. Experienced builders can finish in a few days.
Can I reuse old fairings as a base for my custom design?
Yes! Old fairings can save time and materials. Sand them down, repair any damage, and use them as a base for your custom design. It’s a great way to recycle and reduce costs.
What tools do I need to shape ABS plastic or fiberglass?
For ABS plastic, you’ll need a heat gun, clamps, and cutting tools. For fiberglass, you’ll need resin, brushes, sandpaper, and safety gear like gloves and goggles. Both require basic tools like knives and measuring tape.
Is it safe to work with fiberglass at home?
Yes, but you must take precautions. Wear gloves, goggles, and a mask to protect yourself from resin fumes and fiberglass particles. Work in a well-ventilated area to stay safe.
Can I paint my fairings without professional equipment?
Absolutely! Use spray cans with primer and paint designed for your material. Apply thin, even coats and let each layer dry before adding the next. A spray gun gives a smoother finish but isn’t necessary for great results.
See Also
Effortlessly Create Customized Motorcycle Fairings For Your Ride
Crafting Distinctive Motorcycle Fairings For A Personal Touch
Tailored Motorcycle Fairings Available At Nicefairings Shop
Unique Designs With Custom Motorcycle Fairings From Nicefairings
Essential Custom Motorcycle Fairings Every Bikegirl Should Own
