10 Expert Tips for Motorcycle Building and Repair

Building or fixing a motorcycle is fun but not easy, especially when it comes to motorcycle building. If you're new to motorcycle care, there's a lot to learn about the intricacies of motorcycle building. Expert tips can really help you avoid big mistakes in this process. Mechanics know smart tricks that save time and money during motorcycle building. For example, they often fix parts instead of buying new ones. When you're unsure about motorcycle building techniques, ask a mechanic for advice. Their ideas can solve problems and help you succeed.
Working on motorcycles yourself feels great, but they are tricky machines, particularly in the context of motorcycle building. Always follow steps carefully and stay safe while working. With good advice, you can create something amazing in your motorcycle building journey.
Key Takeaways
Understand the basic parts of a motorcycle and how they work. Knowing this helps you fix problems more easily.
Buy important tools like wrenches and screwdrivers for simple repairs. Good tools help you save time and money.
Keep your workspace clean and bright. A neat area makes repairs safer and faster.
Check and change fluids often to keep your motorcycle working well. This easy step stops big problems from happening later.
Ask a professional for help with hard repairs. Reliable shops can save time and keep your bike safe.
Understanding Motorcycle Building Basics
Learn Motorcycle Anatomy
Before fixing motorcycles, learn how they work. It's like knowing puzzle pieces before solving it. Start by learning main parts: engine, brakes, suspension, transmission, and electrical system. Each part helps the motorcycle run well.
You don’t need to know everything right away. Begin with simple things, like finding the battery or seeing how the chain moves the back wheel. If confused, join a motorcycle class. These classes give hands-on practice for beginners. They show you parts and explain how they work together.
Using diagrams or manuals for your motorcycle model is helpful. These tools make hard systems easy to understand. Once you know the parts, fixing and upgrading becomes easier.
Essential Tools for Motorcycle Maintenance
Right tools make fixing motorcycles simpler. You don’t need expensive tools to start. A basic kit should have wrenches, screwdrivers, pliers, and a tire gauge. These tools handle most simple jobs, like tightening bolts or checking tires.
For harder fixes, you’ll need special tools like torque wrenches or chain breakers. These tools help you work carefully without breaking anything. Unsure what to buy? Use guides like Clymer or Haynes manuals.
Clymer and Haynes manuals are trusted for teaching repairs. They explain every task clearly and cover many vehicles. Unlike online videos, these manuals give full, reliable instructions for your motorcycle.
Keeping tools organized is important too. Use a toolbox or hang tools on a board for easy reach. This keeps your space neat and saves time. If you want to learn more, take a class to practice using tools.
Setting Up a Motorcycle Repair Workspace
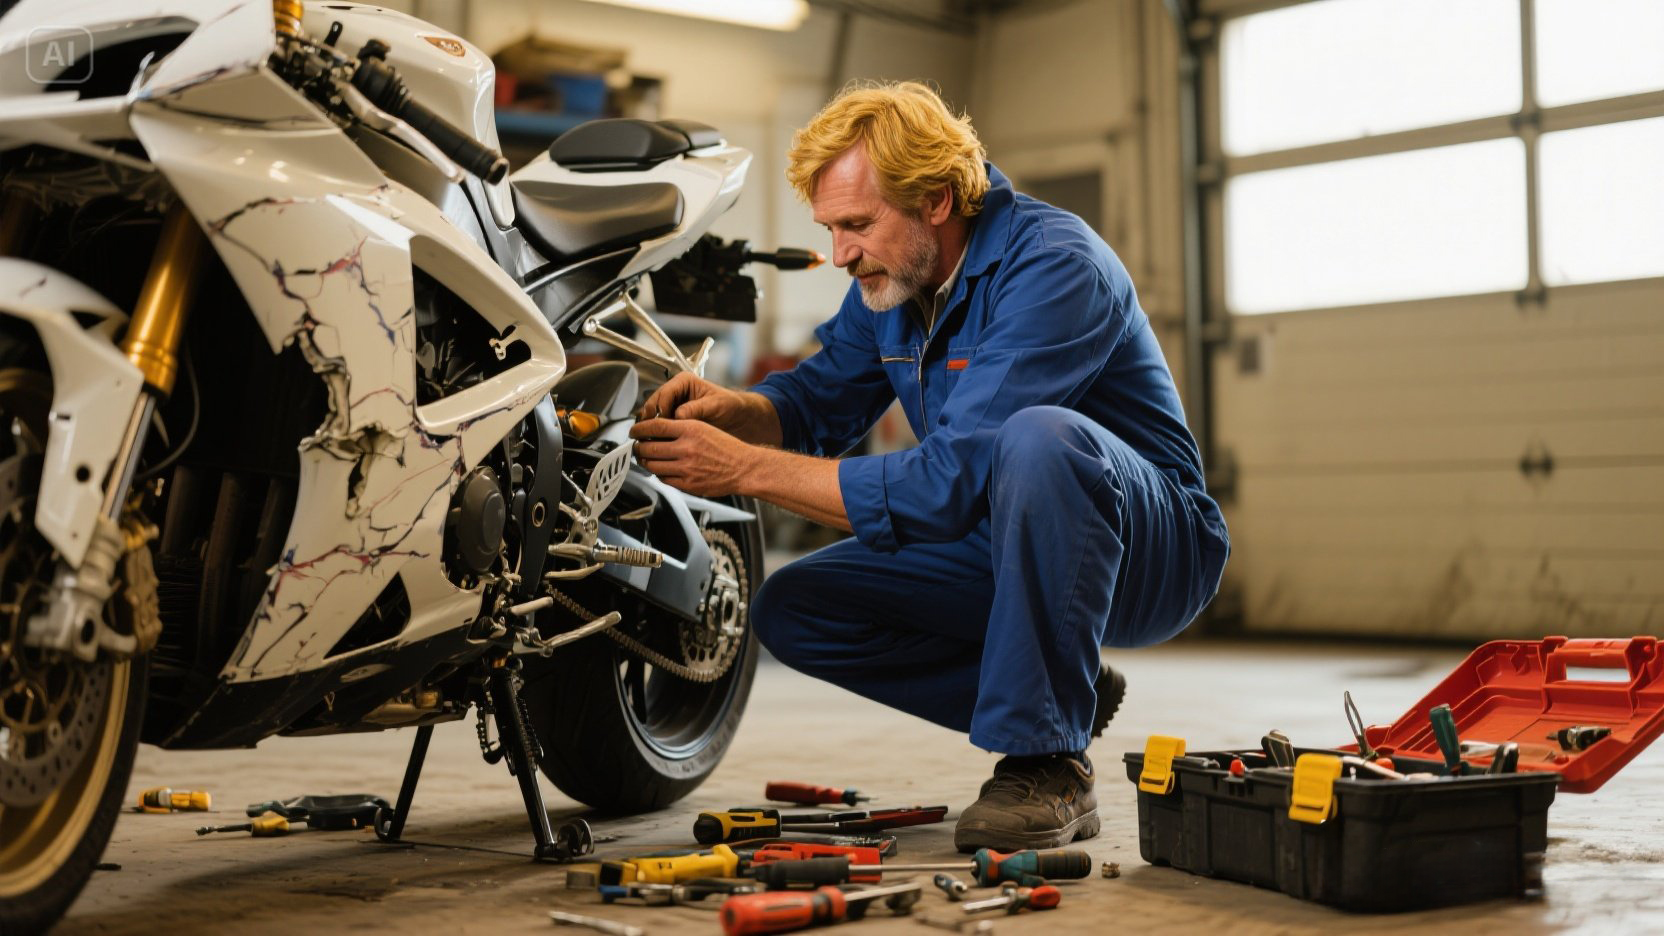
Organize Your Garage or Workshop
A tidy workspace makes fixing motorcycles easier and safer. Start by thinking about how you work. Decide which tools you use the most and where they should go. Arrange your garage so tools are easy to grab. This saves time and effort.
Keep tools in specific places. Use carts or drawers to store wrenches, screwdrivers, and other items. These storage options keep tools clean and last longer. They also help you find tools quickly during repairs.
🛠 Pro Tip: A clean workspace isn’t just helpful—it’s safer too. A neat area lowers the chance of accidents, so you can work with confidence.
Jim, who owns a motorcycle shop, improved his workspace by organizing it better. He kept tools in order and cleaned his area often. This simple change helped him fix bikes faster and make fewer mistakes.
Ensure Proper Lighting and Ventilation
Good lighting and airflow are key for a safe workspace. Bright lights help you see small parts, like wires or worn pieces. Add ceiling lights and desk lamps near your workbench for better visibility.
Airflow is just as important. Fixing motorcycles can create fumes from fuel or oil. Fresh air keeps you healthy and comfortable. Open windows, use fans, or add an exhaust system to clear the air.
💡 Quick Tip: Use both sunlight and lamps for the best lighting. Sunlight is easy on your eyes, and lamps let you work at night.
A bright and airy workspace isn’t just useful—it improves your work. When you can see clearly and breathe well, you’ll fix motorcycles better and enjoy the process more.
Choosing Tools for Motorcycle Repair
Must-Have Tools for Beginners
Starting motorcycle repairs? You don’t need many tools at first. A few basic ones can handle simple tasks and build your skills.
Here’s a list of tools to start with:
Paddock Stand: Lifts your bike for chain work or cleaning.
Power Drill: Helps with adding parts and doing small fixes.
Small Plastic Funnel: Makes adding oil neat and easy.
Air Pump: Keeps tires properly inflated.
For harder repairs, add these tools later:
Torque Wrench: Tightens bolts correctly to avoid breaking them.
Oil Filter Wrench: Makes taking off oil filters simple.
Chain Splitting and Riveting Set: Lets you change chains yourself.
Tap and Die Set: Repairs damaged threads and broken studs.
Socket or Ratchet Set: Works for many repair tasks.
Pick tools that fit your motorcycle, are easy to use, and match your budget. Strong, good-quality tools last longer and save money over time.
🎥 Pro Tip: Watch videos to see how these tools work. They’re helpful for learning proper techniques.
Specialty Tools for Advanced Repairs
Once you know the basics, try advanced tools for harder jobs. These tools make fixing motorcycles faster and more accurate.
Here are great advanced tools to consider:
Torque360: Checks your motorcycle and makes repairs easier. It’s great for detailed work.
Ancel MT700: Easy to use and works with many motorcycle types. It helps find problems and improve performance.
When buying advanced tools, look for features like strength, problem-solving abilities, and regular software updates. These tools cost more but are worth it if they meet your needs.
🛠 Quick Tip: Advanced tools often come with guides or online videos. Use them to learn how to get the best results.
With the right tools, you’ll feel ready to fix any motorcycle problem.
Safety Tips for Motorcycle Maintenance
Wear Protective Gear
Always wear the right gear when fixing your motorcycle. It keeps you safe from cuts, burns, and accidents. Start with gloves to protect your hands from sharp tools or hot parts. Safety glasses keep your eyes safe from flying bits or chemicals. Strong boots protect your feet if you drop something heavy.
Helmets are not just for riding—they help during repairs too. They shield your head from falling tools or parts in the garage. Studies show helmets lower head injury risks by 63%-88%. They also prevent mid-face injuries by 65%. Between 2002 and 2017, helmets saved over 25,000 lives.
Wearing protective clothes is also important. Special motorcycle jackets, pants, and gloves give extra safety. These clothes have padding and meet European safety rules. They reduce injuries in crash zones and last longer.
🛡 Quick Tip: Check your gear for damage before using it. Torn gloves or cracked helmets won’t protect you well.
Follow Safety Protocols During Repairs
Safety steps are key when fixing motorcycles. They stop accidents and make repairs easier. First, disconnect the battery before touching electrical parts. This avoids shocks or sparks.
Keep your workspace clean and organized. Messy areas can cause trips or falls. Use a strong stand to hold your motorcycle steady. A shaky bike can fall and hurt you.
Follow these safety tips for better repairs:
Safety Tip | Why It Helps |
|---|---|
Avoid speeding in test rides | Lowers risks during testing |
Use hazard signs | Warns about dangers like bumps |
Check road surfaces | Spots loose gravel or holes |
⚠️ Pro Tip: Don’t rush repairs. Take your time and check your work. Small mistakes can cause big problems later.
By following these tips, you’ll stay safe and enjoy fixing your motorcycle.
Routine Motorcycle Maintenance Essentials
Check and Replace Fluids
Keeping your motorcycle’s fluids in check is one of the easiest ways to ensure it runs smoothly. Regularly checking and replacing fluids like engine oil, coolant, and brake fluid can prevent costly repairs down the road. Start with the engine oil. Check the oil level every two weeks or before long rides. Let the engine run for a few minutes first, then use a dipstick or sight glass to inspect the oil’s color and texture. If it looks dark or gritty, it’s time to change the oil.
Changing the oil is straightforward. Follow your owner’s manual for instructions on draining the old oil and replacing it with fresh oil. Don’t forget to replace the oil filter while you’re at it. Most motorcycles need an oil change every 2,000 to 6,000 miles, depending on the type of oil you use.
Brake fluid and coolant are just as important. Low brake fluid can affect stopping power, while old coolant can lead to overheating. Check these fluids monthly and top them off as needed. If you’re unsure how to do this, your manual will guide you step by step.
🛠 Quick Tip: Keep a log of your fluid checks and replacements. Routine maintenance like this ensures your motorcycle stays in top shape and avoids surprises on the road.
Inspect Tires, Brakes, and Chains
Your motorcycle’s tires, brakes, and chain are critical for safety and performance. Start with the tires. Check the air pressure regularly using a tire gauge. Properly inflated tires improve handling and reduce wear. Look for cracks, bulges, or worn tread. If the tread is too low, it’s time to replace the tires.
Brakes need attention too. Inspect the brake pads for wear. Thin or uneven pads can reduce braking efficiency. Check the brake discs for scratches or warping. If you notice any issues, replace the pads or discs immediately.
Don’t forget to service the chain. A clean and lubricated chain ensures smooth power delivery to the rear wheel. Check for rust, dirt, or slack in the chain. Use a chain cleaner and lubricant to keep it in good condition. Adjust the tension if the chain feels loose.
🚨 Pro Tip: Regular inspections help you catch problems early. Routine maintenance like this keeps your motorcycle safe and reliable.
Mastering Motorcycle Electrical Systems
Understand Wiring Diagrams
Learning wiring diagrams is like understanding your motorcycle’s electrical map. These diagrams show how parts connect and work together. Start by knowing the basic symbols in these diagrams. For example, a zigzag line means a resistor, and a circle with a line shows a light bulb.
Here’s a simple guide to key ideas:
Concept | Explanation |
|---|---|
Basic Symbols | Know symbols for switches, fuses, and wires. |
Circuit Completion | Electricity flows only in a complete circuit. |
Grounding | The motorcycle frame often serves as the ground connection. |
Fuses | Break circuits when too much current flows, preventing damage. |
When reading a diagram, start at the battery and follow the electricity’s path. Focus on fuses and switches since they protect and control the system.
💡 Quick Tip: Use a multimeter. It helps check voltage, resistance, and connections when working with diagrams.
Troubleshoot Common Electrical Issues
Fixing electrical problems can be tricky, but it’s doable. Begin by checking the basics:
Battery: Make sure it’s charged and clean the terminals. Weak or dirty batteries cause starting trouble.
Alternator: Check if it charges the battery while the engine runs. Look for loose wires or a worn belt.
Starter: If the engine won’t start, check the starter for dirt or bad wiring.
Ignition Coil: Test it to see if it sends the right voltage to spark plugs.
Wiring: Look for damaged or frayed wires. Replace any that are worn out.
For harder problems, use a multimeter to test circuits. Find out if the issue is an open circuit (no connection), a short circuit (wrong connection), or a grounded circuit (connected to the frame).
Troubleshooting Tools | Purpose |
|---|---|
Multimeter | Checks voltage, resistance, and connections. |
Test Light | Finds power in a circuit. |
Wiring Diagram | Helps trace paths and locate problems. |
⚡ Pro Tip: Always disconnect the battery before fixing electrical parts. This prevents shocks or accidental damage.
By learning these steps, you’ll confidently fix electrical issues and keep your motorcycle in great shape.
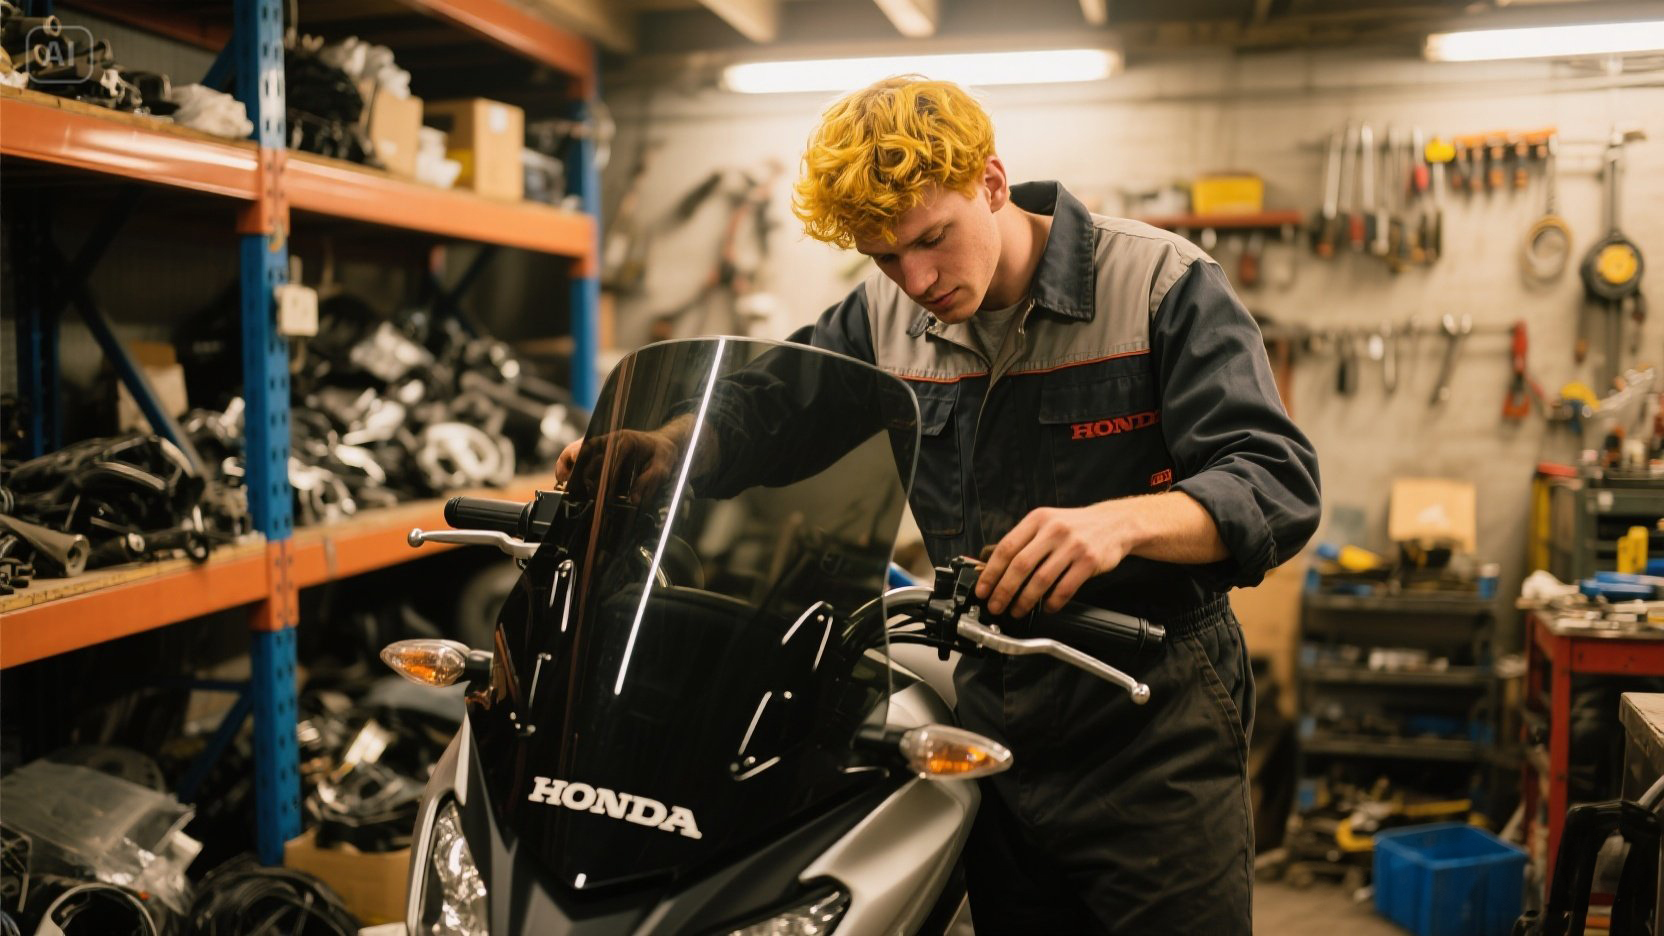
Sourcing Good Parts for Motorcycle Fixes
OEM vs. Aftermarket Parts
Picking the right parts is key to fixing your bike. There are two main types: OEM (Original Equipment Manufacturer) and aftermarket parts. Knowing the difference helps you choose wisely.
OEM parts are made by your bike’s original maker. They fit perfectly and work reliably. These parts meet factory standards and often come with a warranty. That’s why manufacturers recommend them.
Aftermarket parts are made by other companies. They cost less and offer more choices. If you want to save money or customize your bike, these might work. But their quality and fit can differ, so pick trusted brands.
Here’s a simple comparison:
Type of Parts | Features | Why People Choose Them |
|---|---|---|
OEM Parts | Made by bike makers, fit well, high quality. | Trusted quality, warranty, recommended by makers. |
Aftermarket Parts | Made by others, cheaper, lots of options. | Affordable, customizable, many styles available. |
Think about your bike’s needs and your budget before deciding.
Watch Out for Fake Parts
Fake parts are a big problem for bikers. They look real but don’t work well. Using them can harm your bike and make it unsafe.
Spotting fake parts can be tricky, but here are some tips. If the price is super low, it’s likely fake. Check the packaging for spelling mistakes or bad printing. Real parts have clear logos and serial numbers.
Buy from trusted sellers to avoid fakes. Stick to official dealers or popular stores. If shopping online, read reviews and check the seller’s ratings.
Here’s how real and fake parts compare:
Type of Part | Description |
|---|---|
Real Parts | Made by trusted brands, meet original standards, safe to use. |
Fake Parts | Cheap copies, poor quality, can damage your bike or cause accidents. |
Protect your bike by being careful. Spending time to find good parts saves trouble later.
Welding and Fabrication in Motorcycle Building
Learn Basic Welding Techniques
Welding is important for building motorcycles, especially custom ones. It helps you join parts like frames securely. If you're new, start with simple techniques. Many community colleges offer welding classes. These classes teach you step by step and give feedback. If you prefer learning on your own, try the Haynes welding manual. It explains methods clearly and is easy to follow.
For motorcycle frames, GTAW (TIG) welding is the best choice. It makes strong and precise joints, which are safer. Chrome-moly steel, often used for custom frames, needs special welding skills. Getting certified in welding is a good idea. It ensures your work is safe and boosts your confidence.
Here are some tips to begin:
Practice welding on scrap metal first.
Wear safety gear like gloves and a welding helmet.
Keep your workspace clean and ventilated.
🔧 Pro Tip: Plan your welding carefully. Good designs make frames safer and stronger.
Customize Frames and Exhausts
Customization lets you make your bike unique. Frames and exhausts are great places to start. You can change frame shapes to improve handling or style. Chrome-moly is a top choice for custom frames. It’s light and strong but needs careful welding to stay durable.
Exhausts are fun to customize too. Custom pipes improve airflow, reduce pressure, and change your bike’s sound. Companies like Thunderbike use CNC machines to make precise exhaust designs. This improves performance and gives your bike a sleek look.
You can also modify handlebars and foot pegs. These changes make riding more comfortable. Adding custom engine covers or trim pieces gives your bike a personal touch and better style.
🛠 Quick Tip: Measure everything twice before cutting or welding. Accuracy is very important for frame and exhaust work.
With practice and the right tools, you can turn your motorcycle into something truly special.
Testing and Tuning Your Motorcycle
Take Test Rides After Repairs
Test rides check if your motorcycle is ready to ride. After fixing it, make sure everything works well. Start by testing brakes, throttle, and steering. A quick ride near your home can show problems.
For better testing, ride on different roads. Try smooth highways, bumpy streets, and sharp turns. This shows how your motorcycle handles in real situations. Stop safely during the ride to check the bike and note any issues.
Use this checklist for your test ride:
Check Repairs: Make sure fixed problems are gone.
Inspect Systems: Look at brakes, lights, and other important parts.
Solve Concerns: Fix any problems others reported.
Write Notes: Record what you notice for later use.
For advanced tests, use a dynamometer. It measures torque, horsepower, and RPM to check your motorcycle’s health. Retune the engine after adding a new exhaust to improve power and efficiency.
🛠 Quick Tip: Wear safety gear during test rides. Staying safe is always smart.
Adjust Suspension and Engine Settings
Changing suspension and engine settings makes your motorcycle better. Start with the suspension. Adjust sag to keep your bike steady and easy to control. Use these numbers as a guide:
Suspension Type | Static Sag (%) | Rider Sag (%) |
|---|---|---|
Front Suspension | 14% | 25% |
Rear Suspension | 11% | 34% |
Follow your manual to adjust the suspension. If unsure, ask a specialist or the maker for help.
Next, tune the engine. After adding new parts, retuning helps the engine work better. Factory settings can limit power. A good tune boosts performance and protects the engine.
🔧 Pro Tip: Test small changes one at a time. This helps you find the best setup.
Testing and tuning your motorcycle makes it safer and more fun to ride.
Collaborating with a Motorcycle Repair Shop
Know When to Ask for Expert Help
Some motorcycle problems are too hard to fix at home. Knowing when to visit a repair shop can save time and money. For example, figuring out performance issues or checking crash data needs special tools. Experts at repair shops have the skills to handle these tasks.
Here’s when you should rely on professionals:
Problem Area | What Experts Do |
|---|---|
Motorcycle Performance | Find and fix performance problems. |
Safety Checks | Make sure your bike meets safety rules. |
Accident Investigation | Study accidents to find causes. |
Crash Data Analysis | Use data to spot technical issues. |
Mechanical Failures | Look into broken parts and their effects. |
Handling Issues | Improve how your bike handles. |
Braking Problems | Test brakes in different situations. |
Maneuverability | Check how well your bike moves and turns. |
If your bike has brake or handling problems, let a pro help. They use advanced tools to find the issue and ensure your bike is safe.
🛠 Quick Tip: Unsure about a repair? Ask a repair shop for advice. It’s safer than risking damage or unsafe riding.
Build Trust with a Reliable Repair Shop
Having a trusted repair shop is helpful for long-term care. They can handle regular maintenance, urgent fixes, and even upgrades.
Start by picking a shop with good reviews and skilled mechanics. Many riders like shops that offer mobile services, which are becoming more popular.
Service Trend | Growth Rate |
|---|---|
Mobile repair service growth per year | |
Increase in demand for mobile services | 65% |
Riders preferring mobile repair options | 30% |
Once you find a good shop, talk openly with the mechanics. Share your bike’s history and any problems you’ve noticed. This helps them fix your motorcycle faster and better.
💡 Pro Tip: Stay loyal to one shop. Regular customers often get discounts and faster service.
A strong connection with a repair shop keeps your bike in great shape. It also gives you confidence knowing experts are ready to help when needed.
Learning the basics of motorcycle maintenance and motorcycle building is the first step to becoming confident in fixing bikes yourself. Start with easy tasks, understand the main ideas, and slowly try harder repairs. Each fix or upgrade you do improves your skills and helps you know your motorcycle better.
Don’t be afraid to get messy while working. Mistakes will happen, but they teach you important lessons. However, some jobs need expert help. If you're unsure, visit a trusted repair shop to keep your motorcycle safe and working well.
🚀 Quick Tip: Learning never stops. Keep trying, testing, and enjoying your motorcycle journey!
FAQ
How do I start learning motorcycle repair if I’m a complete beginner?
Start small. Begin with basic tasks like checking tire pressure or changing oil. Use repair manuals like Haynes or Clymer for guidance. Watch videos or join workshops for hands-on practice.
🛠 Tip: Don’t rush. Focus on understanding one system at a time, like brakes or chains.
What tools should I buy first for motorcycle maintenance?
Stick to essentials like wrenches, screwdrivers, pliers, and a tire gauge. These handle most beginner tasks. Add specialty tools like torque wrenches or chain breakers as you gain experience.
💡 Quick Tip: Invest in quality tools—they last longer and make repairs easier.
How often should I check my motorcycle’s fluids?
Check fluids like engine oil, brake fluid, and coolant every two weeks or before long rides. Replace them as needed based on your owner’s manual.
🚨 Pro Tip: Keep a log of fluid checks to stay organized and avoid surprises.
Can I customize my motorcycle without professional help?
Yes, you can! Start with simple changes like handlebars or foot pegs. For advanced mods like frames or exhausts, learn welding basics or consult a professional.
🔧 Note: Measure twice before cutting or welding to avoid costly mistakes.
What should I do if I can’t fix a problem myself?
If you’re stuck, visit a trusted repair shop. They have the tools and expertise to handle complex issues. Share your bike’s history and concerns for faster service.
💡 Quick Tip: Build a relationship with a reliable shop for long-term support.
See Also
Money-Saving Tips for Motorcycle Maintenance and Repairs
Key Advice for Crafting Your Ideal Motorcycle
Best Advice for Selecting Motorcycle Repair Courses
